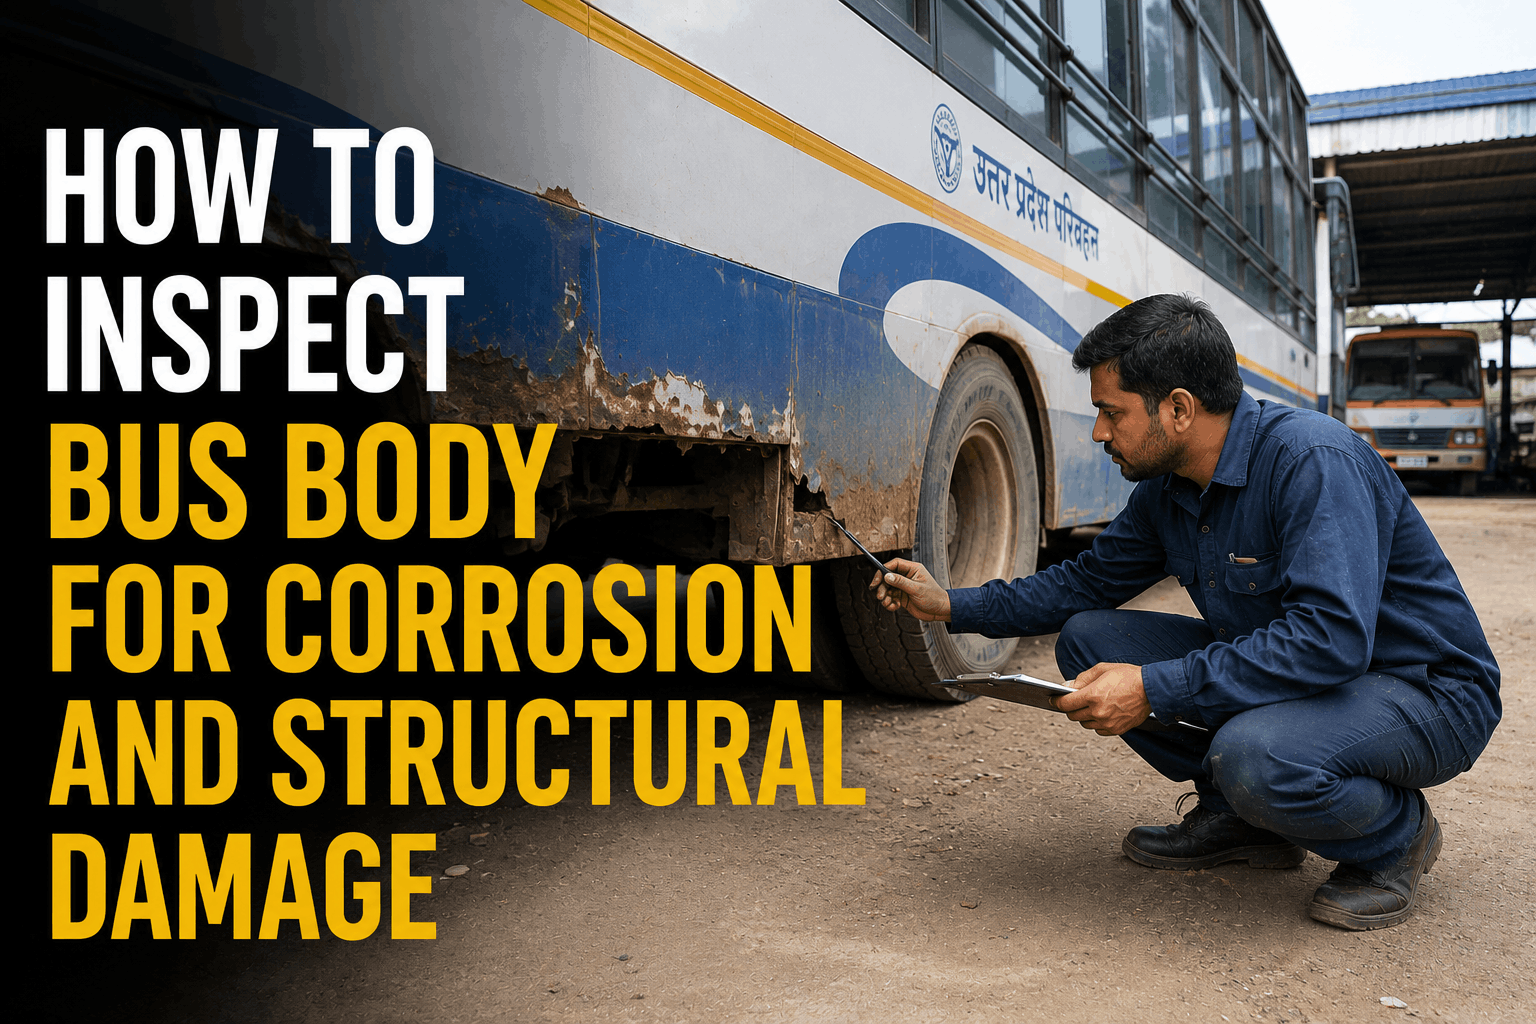
Corrosion and structural damage are the silent killers of bus fleets. A bus that looks perfectly fine on the outside can have hidden corrosion that compromises its structural integrity. Rocker panels, sub-frames, and underbody components corrode from the inside out—often hidden until they fail. Salt belt fleets face the highest risk, with corrosion rates 3-5x higher than fleets in dry climates. This guide provides a systematic approach to inspecting bus bodies for corrosion and structural damage—visual mapping, hammer testing, rocker panel inspection, sub-frame examination, and salt belt damage point identification.
Structural Inspection Guide 2026
How to Inspect Bus Body for Corrosion and Structural Damage
Inspect a bus body for corrosion and structural damage. Visual mapping, hammer test, rocker panels, sub-frame inspection, salt belt damage points.
Corrosion Risk by Fleet Location
The risk of corrosion varies dramatically by fleet location. Salt belt fleets face significantly higher corrosion rates than fleets in dry or moderate climates.
Salt belt fleets face 85% corrosion risk—the highest of any region. Midwest fleets face 55% risk. Coastal fleets face 40% risk from salt air. Moderate climates face 25% risk. Dry climates face only 10% risk. Fleets in high-risk regions require more frequent and thorough inspections.
Structural Inspection Progress
1
Visual Mapping
Conduct complete visual inspection of body, underbody, and frame. Mark all corrosion areas on a diagram.
2
Hammer Test
Tap suspect areas with a hammer—solid sound indicates good metal, hollow sound indicates corrosion.
3
Rocker Panel Inspection
Inspect rocker panels for rust-through, bubbling, or separation. Press with screwdriver to test metal integrity.
4
Sub-Frame Examination
Inspect sub-frame for corrosion, cracks, or weld separation. Check mounting points for deterioration.
5
Damage Documentation
Photograph all corrosion and damage. Document with measurements. Create repair plan for each affected area.
Corrosion Hotspots: Where to Look First
Rocker Panels
Risk: High
Inspection: Look for rust-through, bubbling paint, or separation. Press with screwdriver to test integrity.
Action: Repair or replace if more than 20% of panel is compromised.
Wheel Wells
Risk: High
Inspection: Check for rust-through, debris accumulation, and moisture trapping. Inspect fender lip condition.
Action: Clean thoroughly. Treat surface rust. Replace if rust-through is present.
Sub-Frame Mounts
Risk: Critical
Inspection: Check for corrosion at mounting points. Verify weld integrity. Look for separation.
Action: Immediate repair if any corrosion or separation is found.
Battery Box
Risk: High
Inspection: Check for corrosion from battery acid. Inspect tray and mounting brackets.
Action: Clean corrosion. Replace damaged components. Apply protective coating.
Entry Steps
Risk: High
Inspection: Check for rust-through, loose mounting, and anti-slip surface condition.
Action: Repair or replace steps with corrosion. Replace anti-slip surfacing.
Floor Pans
Risk: High
Inspection: Check for rust-through, especially under seats and in entry areas. Press with screwdriver.
Action: Cut out corroded sections. Weld in new material. Apply corrosion protection.
Structural Health KPIs
Track these five metrics to measure your structural inspection program effectiveness:
Corrosion Area Trend
Target: Stable or decreasing. Track by bus. Increasing area indicates accelerated deterioration.
Hammer Test Pass Rate
Target: 95%+ solid sound. Track by bus. Hollow sound indicates corrosion requiring repair.
Rocker Panel Condition
Target: 95%+ intact. Track by bus. Compromised panels require immediate repair.
Sub-Frame Integrity
Target: 100% intact. Track by bus. Any damage is critical and requires immediate attention.
Salt Belt Fleet Risk
Target: Reducing trend. Track by region. Higher risk fleets need more frequent inspections.
We implemented this structural inspection procedure across our 85-bus fleet in the salt belt. In the first year, we identified 23 buses with significant rocker panel corrosion, 12 with sub-frame corrosion, and 8 with floor pan rust-through that would have compromised structural integrity. We repaired 16 buses and retired 7 that were beyond repair. The inspection procedure caught issues before they caused structural failure.
Digitize Your Structural Inspection Process
BusCMMS guides technicians through every structural inspection point—visual mapping, hammer testing, rocker panel inspection, sub-frame examination, and damage documentation with photos. Auto-schedule structural PM intervals based on location and risk. Complete audit trail with photo evidence for every structural component in your fleet.
Bus Body Corrosion FAQs
How often should bus bodies be inspected for corrosion?
Salt belt fleets: inspect annually or semi-annually. Moderate climate fleets: inspect annually. Dry climate fleets: inspect every 2 years. Additional inspections after any accident or when corrosion is suspected. Document all inspections with photos.
What is the hammer test for corrosion?
The hammer test involves tapping suspect areas with a small hammer or inspection tool. A solid sound indicates good metal. A hollow or dull sound indicates corrosion or separation. Mark hollow-sounding areas for further investigation and repair.
What are the most common corrosion hotspots on buses?
Common hotspots include: rocker panels, wheel wells, sub-frame mounts, battery boxes, entry steps, floor pans, and lower body panels. These areas trap moisture and debris, accelerating corrosion. Salt belt fleets should pay special attention to these areas.
How do I test a rocker panel for corrosion?
Visually inspect for bubbling paint, rust-through, or separation. Press firmly with a screwdriver—if the metal gives way or if you can push through, the panel is corroded. Tap with a hammer—hollow sound indicates corrosion. Any corrosion through the panel requires repair.
What is the cost of corrosion repair on a bus?
Minor corrosion repair: $500-$2,000. Major rocker panel replacement: $3,000-$8,000. Sub-frame repair: $5,000-$15,000. Extensive corrosion may render a bus economically unrepairable. Early detection is the most cost-effective approach.
Can BusCMMS track structural inspection history?
Yes. BusCMMS tracks visual mapping results, hammer test findings, rocker panel condition, sub-frame integrity, and corrosion repair history with photo documentation. This creates a complete structural history for each bus, helping identify deterioration patterns and plan lifecycle replacements.
The Bottom Line
Inspecting bus bodies for corrosion and structural damage is essential for fleet safety and longevity. Salt belt fleets face the highest risk—85% corrosion risk compared to just 10% for dry climate fleets. The 5-step inspection procedure—visual mapping, hammer testing, rocker panel inspection, sub-frame examination, and damage documentation—identifies corrosion before it compromises structural integrity. This guide provides the step-by-step procedures your technicians need to inspect every structural component in your fleet. When combined with BusCMMS digital inspection forms, photo documentation, and complete structural history tracking, your structural inspection program becomes proactive—catching issues before they cause safety failures or costly repairs.