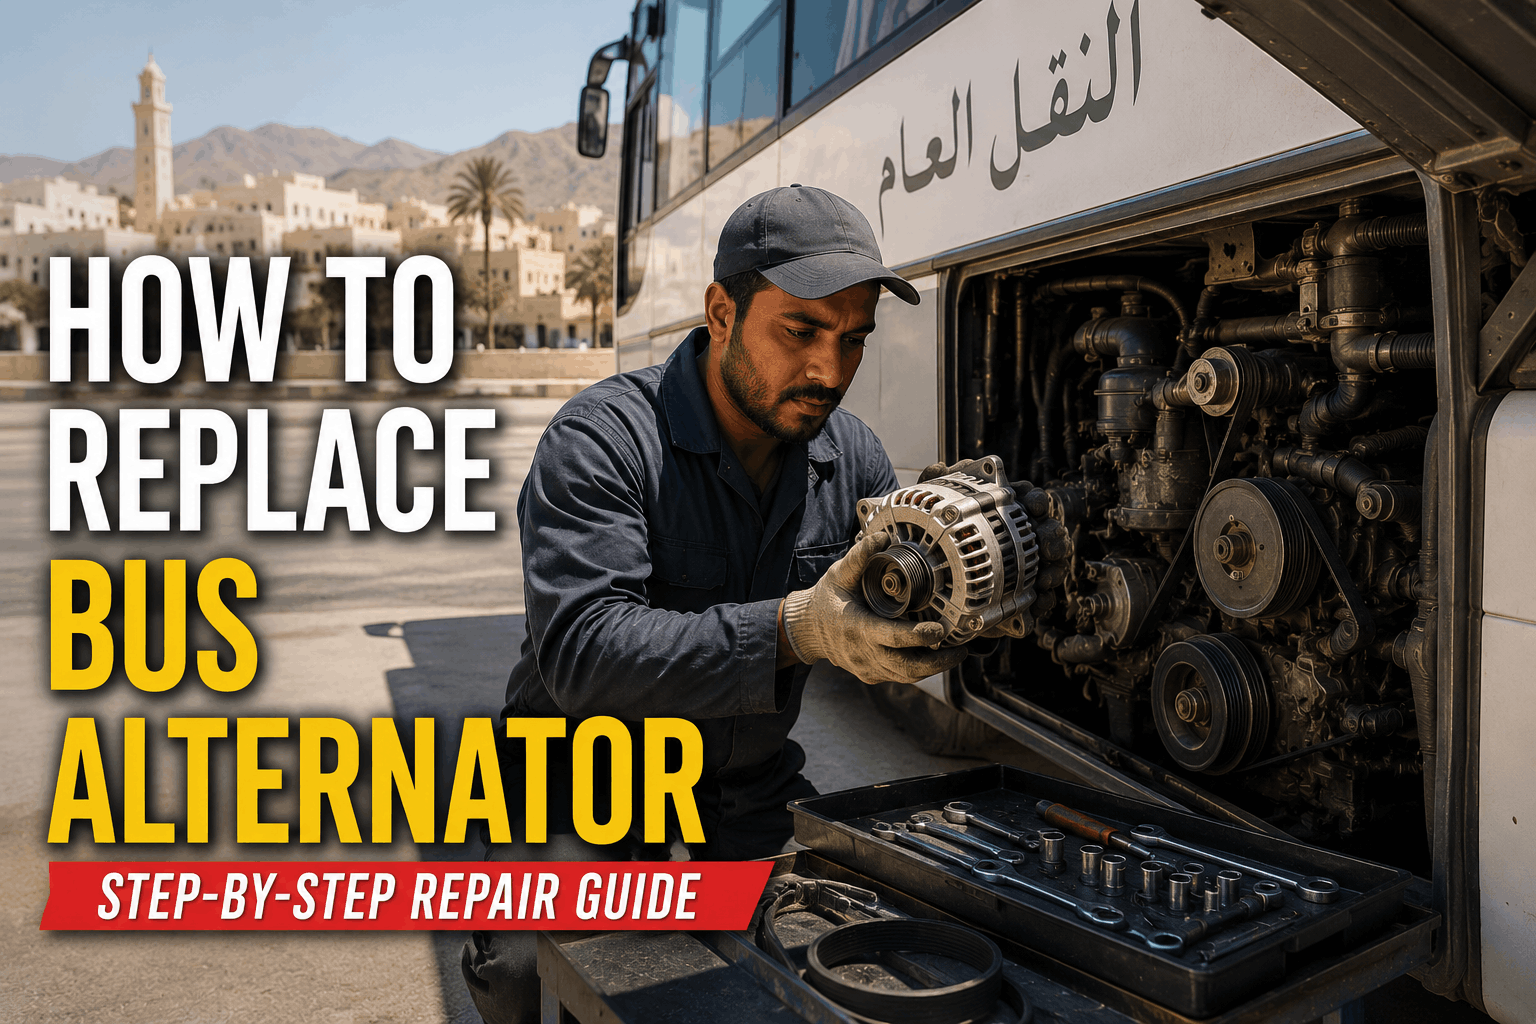
The alternator is the heart of the bus electrical system—it keeps the batteries charged and powers everything from headlights to engine controls to passenger comfort systems. A failed alternator leaves a bus stranded, often with no warning. This step-by-step guide covers the complete alternator replacement procedure: removal, belt tensioning, electrical connections, output testing, and post-installation diagnostics. Whether you are replacing a failed alternator or proactively upgrading one, these procedures ensure the job is done right.
Alternator Replacement Guide 2026
How to Replace Bus Alternator (Step-by-Step Repair Guide)
Replace a bus alternator step-by-step. Removal, belt tension, electrical connections, output testing and post-installation diagnostics.
Alternator Service Impact: The Cost of Failure
Alternator failures are among the most common electrical breakdowns in bus fleets. A failed alternator leaves a bus stranded and can cause cascading electrical issues.
$800–$2,500
Alternator replacement cost
15-20%
Failure rate after 5 years
3-5 hours
Average replacement time
85%
Preventable with PM
Replacement Progress
1
Preparation
Disconnect negative battery cable. Remove serpentine belt. Secure tensioner. Clean alternator mounting area.
2
Remove Alternator
Remove mounting bolts. Disconnect electrical connectors. Note wire routing before disconnecting. Remove alternator from bracket.
3
Compare Alternators
Compare replacement alternator. Verify correct amperage and voltage rating. Check pulley alignment and clocking position.
4
Install New Alternator
Install replacement alternator. Reconnect electrical connectors. Torque mounting bolts to specification. Install belt.
5
Belt Tension Adjustment
Adjust belt tension to specification. Verify belt alignment. Check belt condition and tensioner function.
6
Output Test
Start engine and verify alternator output. Test at idle and 1,500 RPM. Check for proper charging voltage.
Alternator Output Comparison: Before vs. After Replacement
The chart above shows alternator output before and after replacement. A failed alternator produces only 8-11.5 volts across all RPM ranges, while a properly functioning replacement produces 13.8-14.4 volts—ensuring batteries stay charged and electrical systems function properly.
Alternator Replacement KPIs
Track these five metrics to measure your alternator maintenance program effectiveness:
Alternator Output Compliance
Target: 13.5-14.5V at idle. Track by bus. Low output indicates alternator failure requiring replacement.
AC Ripple Detection
Target: <0.5V AC. Track by bus. High ripple indicates diode failure requiring alternator replacement.
Belt Tension Compliance
Target: Within specification. Track by bus. Incorrect tension causes belt wear and alternator issues.
Battery Charge Status
Target: 95%+ charged. Track by bus. Low charge indicates alternator or charging system issues.
Alternator Failure Rate
Target: Decreasing trend. Track by bus. Spike indicates systemic issues or poor quality replacements.
We implemented this alternator replacement procedure across our 95-bus fleet. In the first year, we reduced alternator diagnosis time by 60% and replacement time by 35%. The step-by-step procedure ensures every replacement is done correctly—proper belt tension, correct electrical connections, and verified output testing. Our alternator-related breakdowns dropped by 70%.
Digitize Your Alternator Inspection Process
BusCMMS guides technicians through every alternator inspection point—output testing, AC ripple measurement, belt tension verification, and electrical connection inspection. Auto-schedule alternator PM intervals based on mileage. Complete audit trail for every alternator in your fleet.
Bus Alternator FAQs
How long does it take to replace a bus alternator?
Alternator replacement typically takes 3-5 hours for a standard bus, depending on accessibility and mounting configuration. Some buses require additional disassembly for alternator access. Always allow adequate time for proper belt tension adjustment and output testing.
What causes alternator failure?
Alternator failure is caused by: worn brushes, failed diodes, bearing failure, belt issues, overheating, and electrical surges. Regular output testing and AC ripple measurement catches issues before complete failure. Alternators typically last 200,000-300,000 miles with proper maintenance.
How do I test alternator output?
Test alternator output with a digital multimeter at idle and 1,500 RPM. Normal output: 13.5-14.5V for 12V systems, 27.0-29.0V for 24V systems. Check AC ripple—readings above 0.5V AC indicate diode failure requiring alternator replacement.
What is the correct serpentine belt tension for a bus alternator?
Belt tension varies by engine and alternator type. Use a belt tension gauge to verify correct tension—typically 60-120 lbs force. Incorrect tension causes belt wear (loose) or bearing failure (tight). Always torque mounting bolts to specification after tension adjustment.
How do I know if my alternator is failing?
Signs of failing alternator: battery warning light illuminated, dim headlights, slow electrical accessories, battery not charging properly, unusual noise (whining or grinding), and frequent battery drain. Regular alternator output testing catches these issues early before complete failure.
Can BusCMMS track alternator replacement history?
Yes. BusCMMS tracks alternator output readings, AC ripple measurements, belt tension readings, replacement dates, and alternator brand/part numbers. This creates a complete alternator history for each bus, helping identify patterns and predict replacement needs.
The Bottom Line
Replacing a bus alternator is a routine but critical maintenance task that requires careful attention to detail. The 6-step procedure—preparation, removal, comparison, installation, belt tension adjustment, and output testing—ensures every replacement is done correctly. Proper belt tension, correct electrical connections, and verified output testing prevent premature failure and ensure the charging system functions reliably. This guide provides the step-by-step procedures your technicians need to replace alternators across your fleet. When combined with BusCMMS digital inspection forms and complete electrical history tracking, your alternator maintenance program becomes proactive—catching issues before they cause breakdowns.