Air brakes are the most critical system on a bus. They're also the most misunderstood. Many drivers and technicians don't fully grasp how air brake systems work, what to inspect, how to test them properly, or what the federal requirements actually are. Missing an air brake defect during inspection has catastrophic consequences: brake failure during operation, loss of vehicle control, potential collision, and massive liability. FMCSA takes air brakes seriously — air brake violations are among the most frequently cited defects during roadside inspections, and they often result in out-of-service orders. This comprehensive guide covers air brake system fundamentals, how to conduct a proper air brake inspection, the federal 3-step air brake test required for CDL testing (which applies to fleet compliance too), leak rate limits, common failure points, and how to document findings for audit purposes.
Inspection Mastery
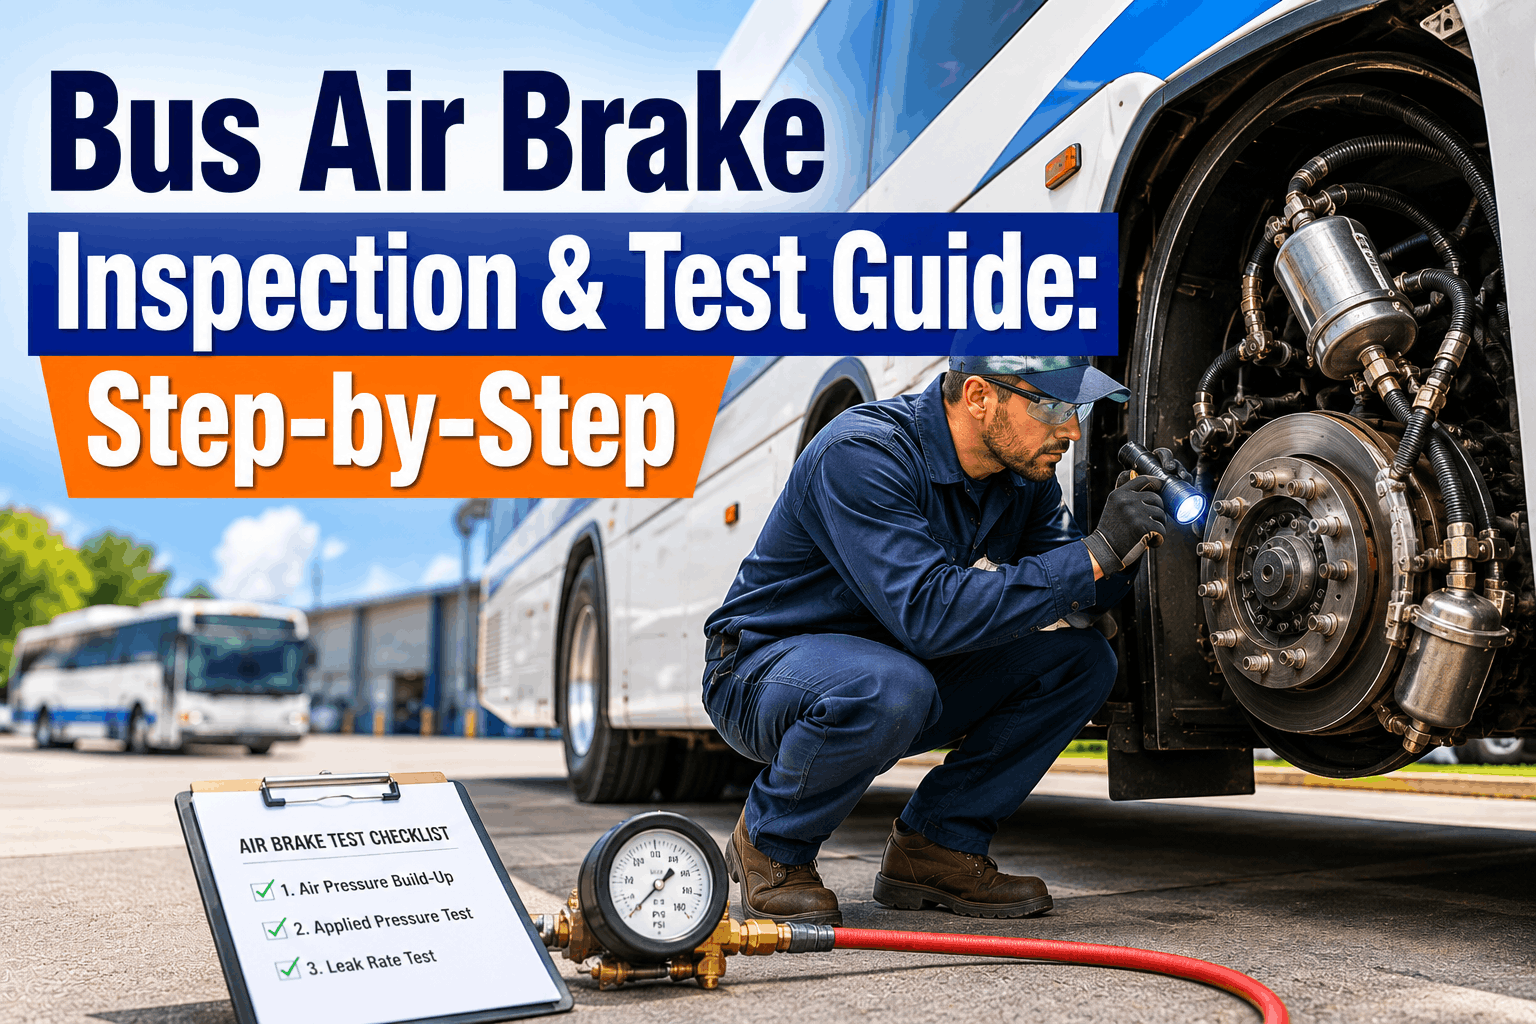
Bus Air Brake Inspection & Test Guide: Step-by-Step
Master air brake inspection for CDL and DOT compliance. Learn the 3-step test, leak limits, failure points, and documentation standards.
Air Brake System Components: What You're Inspecting
Understanding what you're looking at is the first step. Air brake systems on buses consist of:
Air Compressor
Engine-driven pump that generates compressed air. Pressure range: 100–120 PSI. If compressor fails, no air = no brakes.
Air Dryer & Filter
Removes moisture and contaminants from compressed air. Moisture freezes in cold weather and damages brake valves. Dryer cartridge must be replaced annually (or every 100K miles).
Air Reservoir (Tank)
Stores pressurized air. Multiple tanks on larger buses (primary, secondary, parking brake). Tanks must hold pressure without leaking (max 4 PSI drop per minute).
Brake Valve (Foot Brake)
Modulates air to brake chambers. Driver presses pedal, valve delivers proportional air pressure to brakes. Must respond immediately, no sluggish response.
Brake Chambers
Actuators that convert air pressure into mechanical force to apply brakes. One per wheel (or axle). Chambers pull slack adjusters, which move brake shoes into drums or pads into rotors.
Slack Adjusters
Mechanical linkage between brake chamber and brake shoes. As brake material wears, slack adjusters compensate (auto-adjusters) or must be manually adjusted. Out-of-adjustment = excessive brake stroke = violation.
Spring Brake (Parking Brake)
Spring-applied, air-released. When air pressure lost, spring forces brakes on (safe parking). When air supplied, spring is compressed and brakes release. Failure = no parking brake function.
The 3-Step Air Brake Test (CDL Standard)
The 3-step air brake test is the federal standard for CDL testing and fleet compliance. Every technician and driver should know this procedure:
STEP 1: Pressure Build-Up Test
Start engine, allow air pressure to build in main reservoir
Pressure should reach 60–80 PSI in 45 seconds (max time allowed)
Once at operating pressure (100–120 PSI), stop engine
✓ PASS: Reaches 60 PSI in <45 seconds
❌ FAIL: Takes >45 seconds or never reaches 60 PSI (compressor issue)
STEP 2: Air Leak Test (Engine Off)
With engine running at idle, build pressure to 100–120 PSI
Turn off engine
Wait 1 minute, observe pressure gauge
Allowable leak rate: Max 3 PSI drop in 1 minute (service brakes)
For parking brake system: Max 4 PSI drop in 1 minute
✓ PASS: <3 PSI drop in 1 minute
❌ FAIL: >3 PSI drop (indicates air leak in lines, seals, or brake chambers)
STEP 3: Brake Application & Hold Test
With engine running, build pressure to 100–120 PSI
Apply brakes firmly (foot pedal), hold for 5 seconds
Release and wait 15 seconds
Reapply and observe: pressure should drop no more than 10 PSI on each application
After releasing, pressure should NOT drop more than 6 PSI over 1 minute
✓ PASS: Firm brakes, no excessive pressure loss
❌ FAIL: Soft/spongy brakes, excessive pressure drop (brake valve or chamber issue)
Common Air Brake Defects Found During Inspection
Out-of-Adjustment Slack Adjusters
Brake stroke exceeds limits (typically >1.5" for s-cam brakes)
❌ OUT-OF-SERVICE VIOLATION — Most common air brake defect
✓ Adjust slack adjusters or replace if worn beyond adjustment range
Cracked/Leaking Brake Lines
Visible cracks, hissing sound, wet spots under bus
❌ Air leak = reduced braking capacity, potential loss of brakes
✓ Replace cracked line, pressure test after replacement
Failed Brake Chamber
Soft brake pedal, uneven braking (one side worse), air hissing from chamber
❌ OUT-OF-SERVICE — Brake chamber must be replaced
✓ Replace chamber, bleed air from system, test brakes
Water/Moisture in Air System
Brake valve sluggish, white/milky condensation in tanks, freeze-up in winter
❌ Moisture damages seals, can freeze and disable brakes in cold weather
✓ Replace air dryer cartridge, drain air tanks, add air-line antifreeze (if compatible)
Pre-Inspection Checklist (What Drivers Should Check Daily)
□ Air pressure gauge — steady at 100–120 PSI when running
□ Brake pedal feel — firm response, no sponginess or excessive travel
□ Brake application — all wheels stop evenly (no pull to one side)
□ Parking brake — holds on incline, releases fully when air applied
□ Air dryer — no moisture visible in tank sight glass
□ Brake lines — no visible cracks, leaks, or wet spots under bus
□ No air hissing sounds from under bus during or after braking
"We had a technician who'd been 'checking brakes' without actually using the 3-step test. Just looked at the truck visually and said 'looks OK.' Roadside inspector conducted proper pressure test, found 8 PSI drop in 1 minute (should be <3). Violation issued. We now require formal 3-step testing monthly for all buses, documented with gauge readings and technician signature. Takes 15 minutes per bus. First month we found 3 defects that visual inspection had missed. Could have been dangerous."
— Maintenance Director, 50-bus fleet, California
Master Air Brake Inspection Standards
The 3-step test isn't optional. Make it part of your monthly PM routine and you'll catch defects before roadside inspectors do.