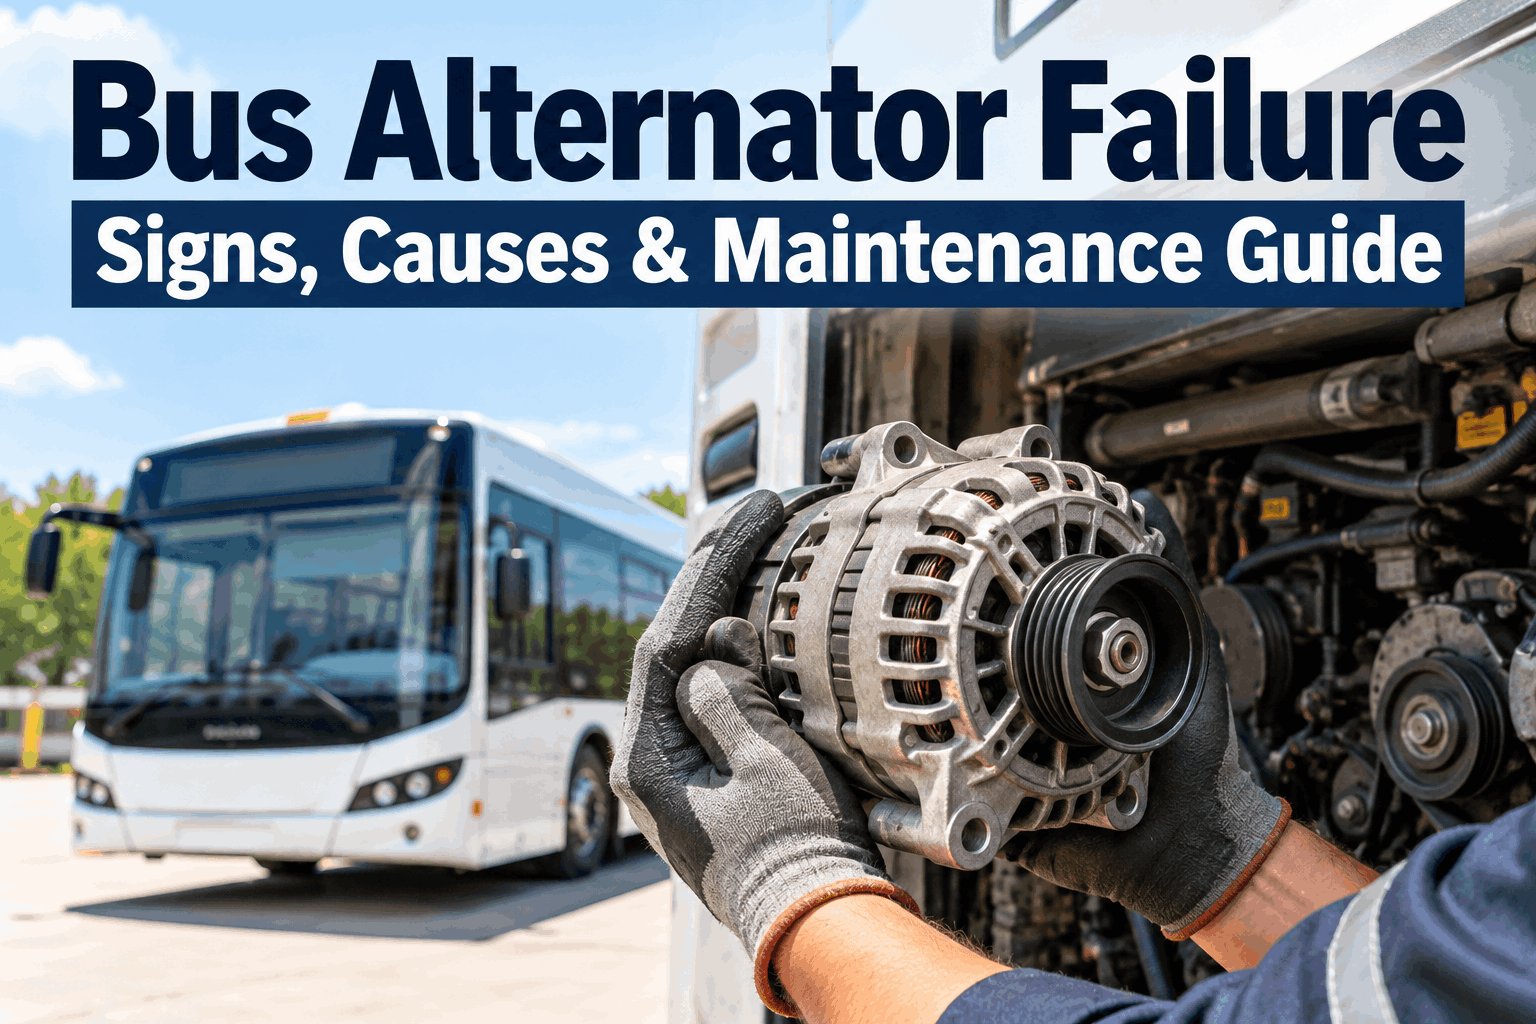
Bus alternator failure rarely begins with a bus that simply stops charging. Drivers and technicians may first notice dim or unusually bright lights, a charging warning, repeated battery complaints, belt noise, slow electrical accessories, or a bus that needs another jump-start. The useful question is not just “is the alternator bad?” but “what is the charging system telling us, and has this bus shown the same pattern before?”
Read the Warning Signs Before You Replace the Alternator.
A failed alternator can strand a bus, but a charging complaint can also come from batteries, belts, cables, connections, grounds, mounting or another system issue. Diagnose the system first—then preserve the evidence for the next repair.
Do not condemn the alternator from one symptom alone.
Bus Alternator Failure Signs Are Charging-System Clues
Heavy-duty alternator troubleshooting guidance from Delco Remy identifies signs such as squealing under the hood, dim lights, bulbs that fail repeatedly, and dash-voltmeter readings that are too high or too low. Those symptoms justify a charging-system inspection; they do not, by themselves, prove the alternator is the failed part.
Dim or unusually bright
Check charging voltage and the wider electrical system instead of jumping straight to replacement.
Signal → system testCharging warning
Capture when it appeared and what electrical loads or operating conditions were present.
Signal → defect recordSqueal or abnormal noise
Inspect belt condition, tension, pulley area and mounting before deciding the alternator itself failed.
Signal → visual inspectionRepeated discharge
Test battery condition and charging performance; a discharged battery is a symptom with multiple possible causes.
Signal → diagnosisBusCMMS can keep the original complaint attached to the bus and the work that follows. See how electrical defects become traceable maintenance work.
Diagnose the Charging System Before Ordering a Part
A charging system is more than the alternator. Batteries, drive components, cables, grounds and electrical connections all affect what the technician sees. Delco Remy’s heavy-duty troubleshooting sequence starts with visual inspection and battery condition, then moves to system voltage and alternator-output testing. If the alternator passes, the service manual is the next stop for causes outside the alternator.
Belt, pulley, mounting, cables and connections
Condition, terminals and proper battery testing
Measure charging-system voltage correctly
Test alternator output using approved procedure
Use OEM service information and confirm the cause
Common Bus Alternator Problems Leave Different Evidence
A useful alternator work order should record what the technician found—not only “alternator replaced.” That distinction matters when a bus comes back with the same complaint. Use manufacturer diagnostic procedures and specifications for the exact alternator, electrical architecture and bus.
The Alternator Can Get Blamed for Resistance Somewhere Else
A visual cable inspection cannot reveal every internal resistance problem. Delco Remy notes that unwanted resistance from loose connections, corrosion, incorrect cable sizing or poor crimps can create starting and charging problems that are mistaken for alternator or starter faults. Voltage-drop testing helps evaluate whether the current path is doing its job.
Terminal or connection
Cable or connection
Wiring / chafing
Connector resistance
Recording the diagnostic result is as important as recording the part. Build a bus-by-bus electrical repair history.
When the Replacement Alternator Fails Again, Stop Repeating the Same Work Order
Repeat alternator failure is a different maintenance problem from a first-time failure. Before replacing the unit again, compare the prior complaint, test results, installed part, battery work, cable repairs, belt work, operating conditions and post-repair verification. The objective is to find what remained unchanged between events.
Alternator replaced
Similar charging symptom
Do not automatically repeat the repair
System, part, installation, duty or connection
Preventive Maintenance Should Protect the Whole Charging Path
Alternator maintenance is not a promise that every internal failure can be prevented. Its practical job is to catch serviceable conditions that can undermine charging reliability and to create a consistent inspection history. Build the applicable manufacturer checks into the bus PM program rather than relying on memory after a breakdown.
Inspect belt condition, tensioner operation and pulley condition/alignment where applicable.
Check alternator mounting and follow manufacturer torque/service requirements.
Look for corrosion, looseness, chafing, heat damage and other visible concerns.
Inspect and test batteries using the correct procedure before drawing charging conclusions.
Use the correct system and alternator test for the vehicle and component.
Mileage- and calendar-based PM scheduling can keep these checks from becoming reactive. See BusCMMS preventive maintenance scheduling.
“Alternator Replaced” Is Not Enough Information for the Next Technician
A stronger record separates symptom, diagnosis, cause, correction and verification. This mirrors the logic of heavy-duty electrical diagnosis: identify what was observed, determine what caused it, correct it, then confirm the equipment is serviceable.
Charging warning, lighting behavior, battery complaint, noise.
Battery condition, system voltage, output or other OEM-directed checks.
Alternator, belt/drive, connection, cable, battery or another documented cause.
Repair, adjustment, replacement, cleaning or wiring correction.
Post-repair result documented according to the applicable procedure.
When repeat alternator work starts appearing across the fleet, the vehicle history should make the pattern easy to investigate. See how BusCMMS surfaces repeat maintenance history.
One Alternator Failure Is a Repair. Ten Similar Failures Are Fleet Data.
Once work orders use consistent failure categories, managers can look beyond individual buses. Repeated alternator replacements on one vehicle call for root-cause investigation; similar failures across a model group may justify checking common parts, installation, duty or maintenance practices. Compare like-for-like vehicles before drawing conclusions.
Do Not Close the Work Order Until Charging Performance Is Verified
After the repair, use the applicable manufacturer procedure to verify the charging system. A post-repair check protects the next shift from inheriting an unresolved problem and gives the fleet a baseline if the bus later returns with another electrical complaint.
Correct the diagnosed cause
Verify charging performance
Save result and parts/work
Release after verification
That completed record becomes the starting point for any future repeat-failure investigation. Start keeping repair and verification history together.
Ask Five Questions About Charging-System Work Each Week
Which buses reported charging symptoms?
Which bus has returned for similar work?
Are alternators being replaced unusually often?
Which charging-system checks are due?
Can you explain why each repair was made?
Bus Alternator Failure Is Easier to Control When the Diagnosis Has a Memory
The best response to bus alternator failure is not automatic replacement. Start with the symptom, inspect the charging system, test according to the applicable manufacturer procedure, document the actual cause and verify the repair. Then use the maintenance history to identify repeat buses, recurring parts and missed PM. BusCMMS helps keep that evidence connected to each vehicle so a charging complaint becomes useful fleet knowledge instead of another isolated work order.
Questions Fleet Teams Ask About Bus Alternator Failure
Quick answers for diagnosing charging problems, preventing repeat failures and keeping better electrical maintenance records.
01What are common signs of bus alternator failure?Warning signs & symptoms+
Charging-system warning indications, dim or unusually bright lights, repeated battery discharge and squealing or abnormal drive-area noise can justify investigation. These symptoms can also have causes outside the alternator, so technicians should diagnose the complete charging system before replacing a component.
02What causes repeat alternator failure on a bus?Finding the unresolved root cause+
A repeat charging complaint should trigger a wider investigation. Depending on the vehicle, possible contributors can include drive-system problems, cable or connection resistance, battery condition, installation issues, electrical loads or another unresolved system fault. Review the previous repair history and follow the applicable manufacturer diagnostic procedure instead of automatically replacing the alternator again.
03How should a technician troubleshoot a bus charging problem?A practical diagnostic sequence+
A heavy-duty troubleshooting sequence commonly begins with a visual inspection and battery-condition check, followed by charging-system voltage and alternator-output testing. Belt condition, mounting, cables, connections and grounds should also be considered. Exact test procedures and acceptable readings depend on the vehicle and component, so technicians should use current manufacturer service information.
04What should bus alternator maintenance include?Preventive charging-system checks+
Follow the manufacturer’s maintenance requirements for the specific bus and charging system. Relevant preventive checks can include belt and pulley condition, alternator mounting, electrical cables and connections, battery condition and charging performance. Recording these findings by vehicle also gives technicians useful context when a charging problem returns.
05How can BusCMMS help track alternator failures?From isolated repair to maintenance history+
BusCMMS can connect vehicle defects, preventive maintenance, work orders, parts and service history. That gives technicians and fleet managers a clearer record of previous charging-system work, making repeat repairs and recurring electrical problems easier to investigate instead of treating every alternator complaint as a new event.