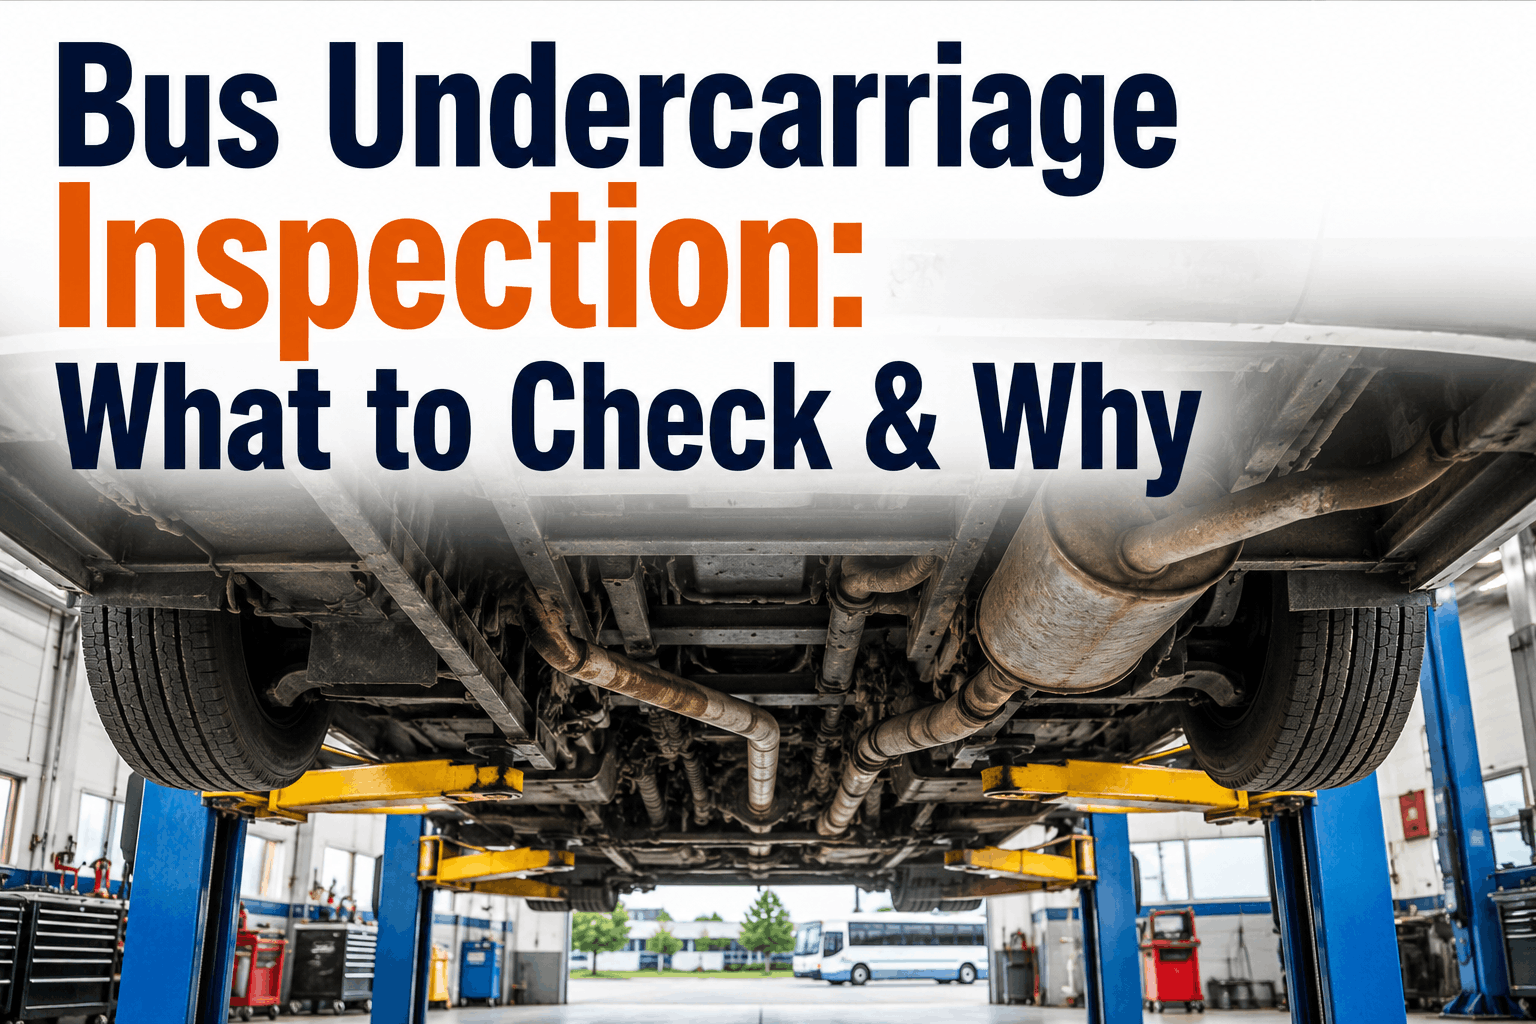
The undercarriage is where the bus meets the road—literally. Frame, suspension, driveline, exhaust, braking components, and fuel systems all operate underneath the body. Unlike components visible in the engine bay, undercarriage components are hidden from casual observation. A technician must specifically look underneath to see them. Yet undercarriage problems are common and costly: rusted or cracked frames, worn suspension bushings, leaking fuel tanks, damaged brake lines, corroded exhaust systems. A frame with corrosion might be weakening structurally without visible signs from inside the bus. A suspension component with excessive wear might create safety hazards without producing obvious symptoms. Exhaust leaks waste fuel and create emissions problems. Brake system corrosion can lead to failures. Many undercarriage problems go undetected until they become failures because routine inspections don't include looking underneath. A systematic undercarriage inspection—done annually or every 50,000 miles—catches problems early before they become dangerous or expensive. Here's a comprehensive guide to undercarriage inspection for bus fleets.
The undercarriage hides costly problems. Learn what to inspect underneath a bus, from frame and exhaust to driveline and suspension.
What to inspect: The frame is the structural backbone supporting the bus body and all components. Inspect the main frame rails (longitudinal members running front-to-back), cross-members (lateral supports connecting frame rails), mounting points for body components, and all welds connecting frame members. The frame should be straight without bending, twisting, or sagging. Welds should be intact without cracks.
Corrosion and rust: Road salt and moisture cause corrosion, particularly in northern climates. Inspect for surface rust (light orange discoloration—cosmetic) versus structural rust (deep pitting or scaling that removes material). Surface rust is normal and requires only monitoring. Structural rust that removes material weakens the frame and requires repair or reinforcement. Rust around welds is particularly concerning because welds are stress points. Severe corrosion in weld areas may require weld reinforcement or frame repair.
Cracks and damage: Examine frame for cracks, particularly around bends, welds, and stress points. Small cracks in non-structural areas might be acceptable depending on severity and location. Cracks through frame rails or major cross-members are serious and require immediate repair. Impact damage (crumpling, bending) indicates the frame has been damaged, likely from collision. Damaged frames must be evaluated by a specialist to determine if repair is safe or if the frame should be replaced.
Frame straightness: A bent or twisted frame causes poor handling, uneven tire wear, alignment issues, and can hide other damage. Visual inspection might not reveal slight bends. Using a frame measuring system (laser or tape) verifies straightness. Bent frames require professional straightening or replacement depending on severity.
Inspection frequency: Frame and structure should be inspected annually or every 50,000 miles, or more frequently in high-salt environments (northern climates). Document findings for each inspection to track corrosion progression. Early intervention when corrosion begins is more cost-effective than waiting for major damage.
Suspension components to inspect: Bus suspension includes springs (coil, leaf, or air springs), shock absorbers or dampers, control arms or suspension linkage, bushings connecting suspension components, and mounts attaching suspension to the frame. These components allow wheels to move independently while supporting the bus weight. Worn or damaged suspension causes poor handling, excessive tire wear, ride harshness, and potential safety hazards.
Spring condition: Springs support vehicle weight. Leaf springs should be intact without broken leaves. Coil springs should show no visible cracks. Air springs (used on some buses) should be checked for leaks or damage. A sagging suspension (bus sitting lower than normal) indicates worn springs unable to support weight. Replacing springs is essential for proper ride and handling.
Shock absorber and damper inspection: Shocks control oscillation of springs, preventing the bus from bouncing excessively. Leaking shock fluid indicates seal failure requiring replacement. Worn shocks allow excessive bouncing and poor handling. Testing shocks (pressing down on the frame and releasing—the bus should bounce once then settle) reveals wear. Multiple bounces indicate worn shocks.
Bushing wear: Rubber bushings isolate suspension components from the frame, reducing noise and vibration. Worn bushings allow excessive movement, creating clunking noises and poor handling. Inspect bushings for cracking, separation, or deterioration. Worn bushings require replacement, but replacement is relatively inexpensive compared to allowing damage to progress.
Alignment issues: Poor alignment causes uneven tire wear and handling problems. Alignment should be checked annually or whenever suspension work is performed. Bent control arms or frame damage might cause alignment issues requiring correction.
Brake lines and hoses: Brake fluid travels through metal lines and rubber hoses to wheel brakes. Inspect lines for corrosion (surface rust is acceptable; holes or severe corrosion require replacement), kinks that restrict flow, or damage from road debris. Hoses should be checked for leaks, cracks, or deterioration. Brake fluid leaks are critical because they can result in brake failure. Any evidence of leakage requires immediate attention.
Caliper and drum brake condition: Disc brakes use calipers that squeeze brake pads against rotors. Drum brakes use wheel cylinders that push brake shoes against drums. Inspect calipers for leaks or damage (corroded calipers might leak). Drum brakes should be examined through inspection holes—brake shoes should have material remaining. Severely worn brake pads or shoes indicate inadequate braking force and require replacement.
Brake pad and shoe thickness: Brake pads and shoes wear as they contact rotors and drums during braking. Minimum thicknesses are specified for each brake type. Measuring thickness (or visual estimation) shows remaining life. When pads/shoes approach minimum thickness, schedule replacement before they wear completely.
Rotor and drum condition: Rotors and drums wear as brakes are applied. Excessive wear reduces braking effectiveness. Rotors can be measured for thickness; drums can be measured for diameter. Worn beyond specifications, they require replacement. Scoring or cracking on rotors/drums indicates excessive wear or damage requiring replacement.
Brake corrosion: Salt and moisture cause brake component corrosion. Light surface rust is acceptable; heavy corrosion might indicate moisture intrusion or water contamination of brake fluid. Brake fluid with water content should be flushed immediately. Severely corroded components should be replaced.
Driveshaft inspection: The driveshaft transmits power from the transmission to the wheels. Inspect for bending, dents, or damage. A bent driveshaft vibrates excessively and should be replaced. Check universal joints (where driveshaft connects to transmission and differential) for play or damage. Worn universal joints create clunking noises when accelerating or decelerating.
Transmission and differential fluid: These components should be checked for leaks. Transmission fluid leaks indicate seal problems. Differential fluid leaks suggest bearing seal or case damage. Small leaks might be tolerable; large leaks require repair. Check fluid levels and condition (should be reddish or amber, not brown/black). Discolored fluid indicates contamination requiring service.
Transmission mounts: Engine and transmission are mounted to the frame via rubber mounts. Worn mounts allow excessive movement and noise. Inspect mounts for cracking or separation. Clunking when accelerating or decelerating might indicate worn transmission mounts.
CV joints (if equipped): Some buses use CV (constant velocity) joints on front drive axles. Inspect CV joint boots (rubber covers) for tears. Torn boots allow lubricant to leak and dirt to enter, damaging joints. Damaged CV joints require replacement.
Muffler and exhaust pipes: Exhaust gases exit through a muffler and pipe system. Corrosion causes holes in mufflers and pipes, allowing exhaust to escape prematurely. This reduces muffler effectiveness and creates exhaust leaks. Inspect for visible holes, rust-through, or loose sections. Damaged exhaust requires replacement.
Mounting and securing: Exhaust is supported by rubber hangers. Broken hangers allow the exhaust to sag and drag on the ground, causing damage or creating noise. Inspect hangers for cracks or deterioration. Ensure exhaust is properly supported without rubbing on other components.
Emissions equipment: Modern buses have diesel particulate filters (DPF) or catalytic converters. These should be inspected for damage or leaks. Damaged emissions equipment can fail, triggering warning lights and loss of power. Repairs require specialists.
Exhaust leaks: Leaks reduce system efficiency and create noise. Visual inspection and listening under the bus while idling reveals leaks. Hissing or whistling sounds indicate leaks. Leaking exhaust requires repair to maintain efficiency and eliminate noise.
Fuel tank inspection: The fuel tank stores diesel or gasoline. Inspect for corrosion (rust spots or discoloration), damage (dents, holes), or leaks. The tank should be mounted securely with proper bracing. Rust perforation in fuel tanks requires tank replacement to prevent fuel contamination. Severe damage or leaks require immediate repair.
Fuel line condition: Fuel travels through metal lines and rubber hoses from the tank to the engine. Inspect for corrosion (metal lines), cracks or deterioration (rubber hoses), kinks, or damage from road debris. Leaking fuel is dangerous and requires immediate repair. Even small leaks accumulate over time and risk fire.
Fuel filter housing: Fuel filters clean fuel before it reaches the engine. Inspect the filter housing for leaks or damage. Leaking fuel filter housings require gasket replacement or complete housing replacement.
Tank mounting and bracing: The fuel tank must be securely mounted. Check mounting straps and braces for corrosion, looseness, or damage. A loose tank can shift during braking or acceleration, damaging fuel lines and risking spills. Ensure mounting is secure.