It is 6:42 AM on a cold October morning. Your driver on Route 14 is running the pre-trip inspection and notices the front right amber warning light is not flashing. She calls dispatch. Now you have a choice: pull the bus out of service and scramble for a spare, or send it out and hope for the best. Sending it out is not an option. That amber light is not decoration -- it is what tells motorists to prepare to stop when your bus is loading students. In 22 states it is a written FMVSS 108 violation if that light is not working during student pickup. This free school bus stop arm, and warning light maintenance checklist keeps that scenario from happening in the first place by catching failing components 30, 60, or 90 days before they fail on a route.
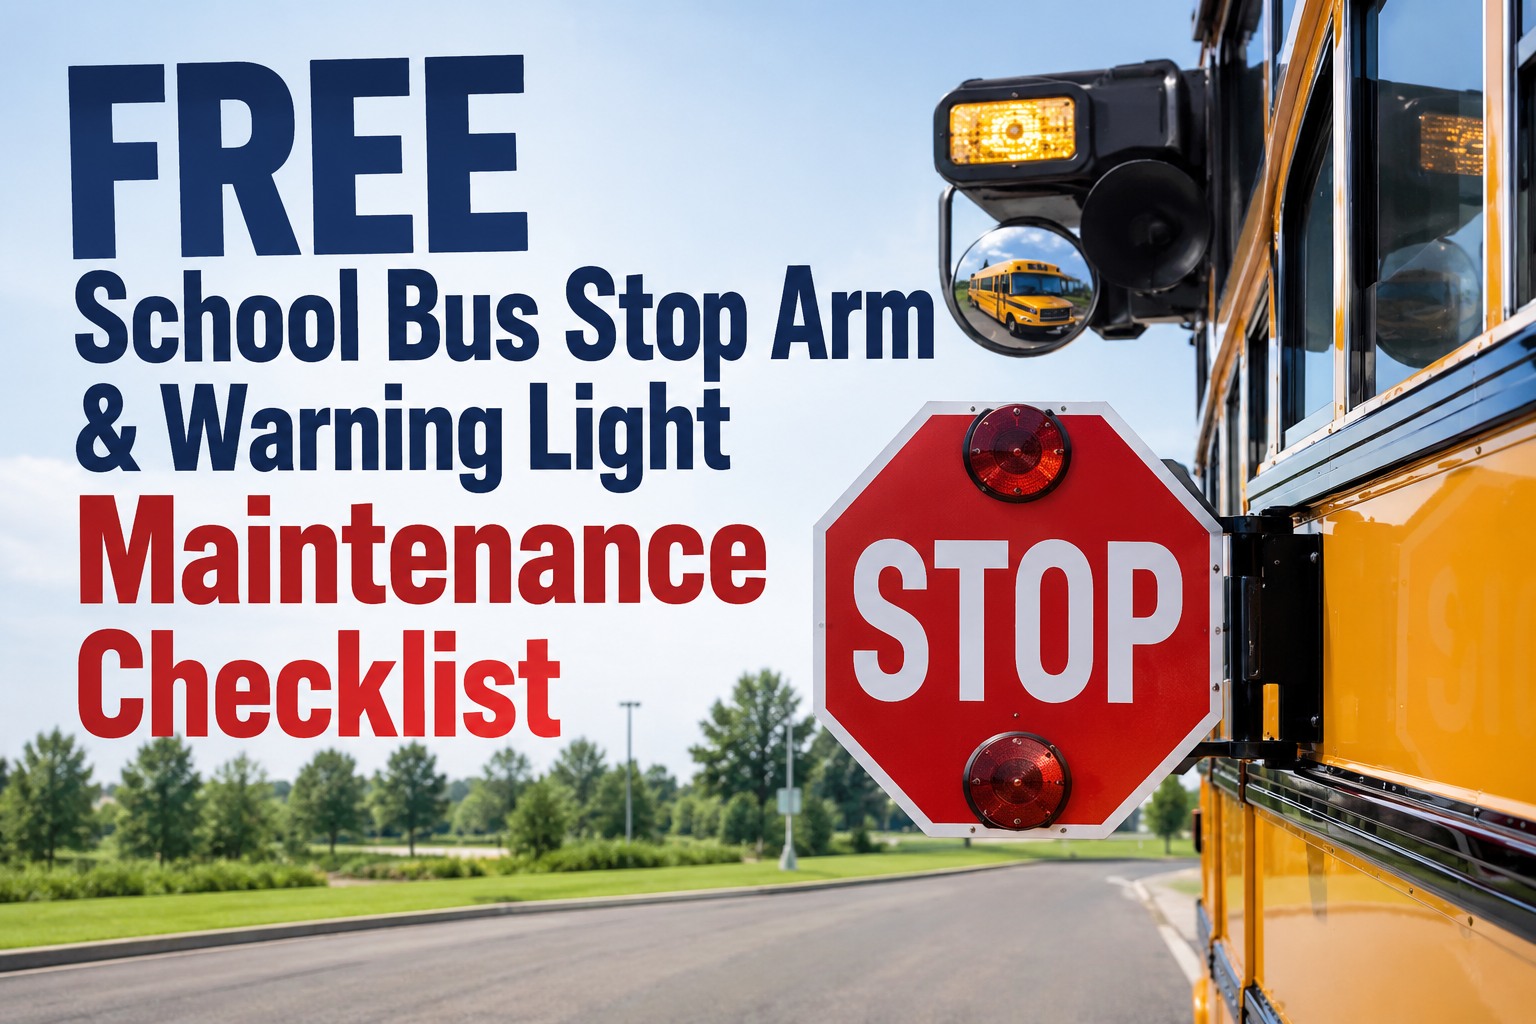
Free School Bus Stop Arm & Warning Light Maintenance Checklist (2026)
Complete inspection checklist for the 8-way warning light system, stop arm mechanism, crossing gate, backup alarm, and every FMVSS 108-required safety signal -- with Daily / Monthly / Quarterly / Annual PM intervals and BusCMMS-automated tracking.
Warning Light Failures Are Not Minor -- They Are Federal Violations
Every state and every federal inspection treats the warning light system as safety-critical equipment. A missed inspection cycle becomes an audit finding fast.
Federal safety standard
Federal Motor Vehicle Safety Standard 108 governs school bus signal and warning light requirements. Non-functioning equipment during operation is a documented violation.
Pre-trip inspection required
FMCSA requires drivers to verify warning lights and stop arm function on every pre-trip inspection. Missing or falsified DVIRs are audit failures.
Annual inspection failure risk
Annual state inspections check every warning light, stop arm cycle, and crossing gate operation. Failed equipment means the bus goes out of service same day.
Legal exposure per incident
If a student is struck by a passing motorist and any warning system is documented as non-functional, the district's legal exposure multiplies significantly.
Book a demo to see how BusCMMS captures pre-trip DVIR completion + safety equipment status.
The 8-Way Warning Light System: Component Breakdown
Understanding each component and its function is the first step to inspecting it properly. Here is what makes up a complete school bus safety warning system.
Front + Rear Amber Warning Lights
Two amber lights at the front and two at the rear. Activated by the driver approaching a stop -- alerts motorists to prepare to stop. Typically flashes 60-120 times per minute per FMVSS 108.
Front + Rear Red Flashing Lights
Two red lights at the front and two at the rear. Activated when stop arm extends -- motorists must stop by law in all 50 states. Interlocked with stop arm actuator.
Extendable STOP Sign with Flashing Lights
Deploys from the driver side of the bus at a 90-degree angle. Contains reflective STOP letters and 2-4 additional flashing red LEDs. Actuator draws 3-8 amps during deployment cycle.
Crossing Control Gate (Front Bumper)
Extends from front bumper to force students to cross in front of bus where driver can see them. Not required in all states; where required, must interlock with stop arm operation.
Backup Alarm + Warning Buzzer
Backup alarm required by FMCSA. Some states additionally require interior chime when warning lights activate -- reminds driver the system is active before departing loading zone.
Master Warning Switch + Interlocks
Driver-controlled master switch. Some systems auto-activate amber lights when door opens; red lights and stop arm interlocked to prevent deployment while bus is in motion.
Complete Inspection Checklist by Frequency
Every inspection item organized by frequency. Daily items go on the DVIR; monthly, quarterly, and annual items go on the PM schedule.
Pre-Trip Driver Inspection
Every route start-
D-1
All 4 amber warning lights flash
Visual verification -- front pair + rear pair. All 4 must flash at the same rate.
-
D-2
All 4 red flashing lights activate
Verify red lights activate when stop arm deploys. All 4 must synchronize with stop arm.
-
D-3
Stop arm deploys + retracts smoothly
Full extension to 90-degree position and complete retraction. No hesitation, no partial deployment.
-
D-4
Crossing gate operates (if equipped)
Front crossing gate deploys and retracts with stop arm interlock. No damage to gate arm.
-
D-5
Backup alarm audible
Test at 3+ feet distance. Alarm should be clearly audible above ambient shop noise.
Monthly PM Inspection
Every 30 days-
M-1
Clean all light lenses + reflectors
Road grime and film reduce brightness significantly. Warm water + non-abrasive cleaner. Inspect for lens cracks.
-
M-2
Stop arm reflective sheeting condition
Reflective STOP letters must be intact and visible. Faded, peeling, or damaged sheeting requires replacement.
-
M-3
Stop arm mechanical hinge lubrication
Light grease on hinge pivot. Prevents binding and reduces actuator load. Do not over-grease.
-
M-4
Warning circuit battery voltage under load
Activate all warning lights + stop arm. Check battery voltage stays above 12.4V. Voltage drop indicates weak battery or bad ground.
Quarterly PM Inspection
Every 90 days-
Q-1
Flasher module timing verification
Flash rate should be 60-120 per minute per FMVSS 108. Rate outside range indicates flasher module failure.
-
Q-2
Wiring harness inspection at flex points
Check harness at door hinge, stop arm hinge, and crossing gate. Look for insulation cracks, chafing, and corrosion.
-
Q-3
Ground connections at chassis + body
Corroded ground causes intermittent light failures. Clean and dielectric grease all warning circuit grounds.
-
Q-4
Stop arm actuator amp draw test
Normal draw is 3-8 amps during deployment cycle. Above 10 amps indicates binding, worn brushes, or motor failure imminent.
Annual + Pre-Season Inspection
August / September-
A-1
Full stop arm disassembly + inspection
Remove stop arm cover. Inspect actuator brushes, gear train, and internal wiring. Replace worn brushes proactively.
-
A-2
Complete electrical continuity test
Multimeter continuity check on all warning circuit runs. Identifies intermittent breaks that daily inspection cannot catch.
-
A-3
Replace all warning light LEDs (if aging)
LED modules degrade over 5-7 years. Proactive replacement before back-to-school prevents in-season failures.
-
A-4
State DOT inspection scheduling
Annual state inspection required. Schedule + prep bus with all warning systems verified working before inspection date.
Book a demo to see how BusCMMS auto-schedules these PM cycles per bus with technician assignment.
Deployment Sequence + Timing Specifications
Every FMVSS 108-compliant warning system operates in the same sequence. Deviations from this sequence indicate control module or interlock failures.
-
01
Amber warning lights activate
Driver activates master switch approximately 200-300 feet before stopping. Amber lights flash at 60-120 flashes/minute. Motorists prepare to stop.
-
02
Bus comes to complete stop
Driver stops the bus. Depending on system, amber lights auto-transition to red or driver activates red flashing sequence.
-
03
Red flashing lights activate + Stop arm deploys
Red lights activate simultaneously. Stop arm extends to 90-degree position in 2-4 seconds. Motorists must stop by law. Crossing gate deploys if equipped.
-
04
Students board or exit
Warning system remains active until students are clear of the road. Driver monitors interior + exterior mirrors continuously.
-
05
Stop arm retracts + Lights sequence off
Driver closes door and deactivates warning switch. Stop arm retracts, crossing gate retracts, red lights turn off, amber lights extinguish. Bus resumes route.
The Top 6 Failure Points to Catch Early
Fleet-wide data shows the same 6 issues account for the majority of warning system failures. Watching for these prevents most in-service breakdowns.
Stop Arm Actuator Wear
Motor brushes wear after 8,000-15,000 cycles. Amp draw creeps up. Preventive replacement at 10K cycles beats road failure.
Watch: Amp draw >10ALED Module Degradation
LED lights dim gradually over 5-7 years. Below 70% brightness fails inspection. Replace as a set, not individually.
Watch: Fade over 5 yrCorroded Ground Connections
Ground corrosion causes intermittent flickering. Not always visible. Clean + dielectric grease quarterly on all warning circuit grounds.
Watch: Intermittent failWiring Harness Chafing
Flex points at door, stop arm hinge, and crossing gate are highest-risk. Insulation cracks lead to shorts. Inspect quarterly.
Watch: Flex pointsReflective Sheeting Deterioration
UV exposure degrades stop arm sheeting over 3-5 years. Faded or peeling sheeting fails state inspection. Replace as observed.
Watch: UV fade 3-5 yrFlasher Module Failure
Flash rate drifts outside 60-120/min spec. Replace flasher module -- not the bulbs. Common winter failure from thermal cycling.
Watch: Wrong flash rateHow BusCMMS Automates This Entire Checklist
Paper checklists get skipped, lost, or falsified. Digital DVIRs plus scheduled PM cycles turn this checklist into an audit-defensible compliance system.
Bus-specific DVIR forms
Pre-loaded DVIR with school bus safety equipment items included -- stop arm, warning lights, crossing gate, backup alarm. Driver checks each item on tablet before route.
Failed inspection auto work orders
When driver reports a failed warning light, the system auto-generates a work order routed to the shop with the specific bus + component identified. No paper handoff.
Monthly + Quarterly + Annual PM scheduling
Warning system PM cycles auto-scheduled per bus. Shop foreman sees which buses need which inspections this week. No spreadsheet tracking.
Compliance report generation
Every DVIR + PM inspection logged with date, technician, and result. State DOT inspection prep exports to a single compliance report per bus.
Parts inventory tracking
Stop arm actuators, LED modules, flasher modules, reflective sheeting -- inventory tracked with auto-reorder alerts. No emergency parts runs mid-season.
Technician certification tracking
Which techs are trained on stop arm actuator replacement? Which need refresher training? Tracked per technician with expiration alerts.
Book a demo to see the warning system inspection workflow live on your fleet.
Warning System PM Impact by District Size
Districts that systematize warning system inspection catch failures before they become audit findings, out-of-service events, or worse. The financial impact adds up fast.
What is required in a school bus warning light inspection?
A complete inspection covers all 4 amber warning lights (front + rear pairs), all 4 red flashing lights (front + rear pairs), the stop arm mechanism with its reflective STOP sign and integrated LEDs, the crossing gate (where equipped), the backup alarm, and the master warning switch. FMVSS 108 governs the standards. Daily driver DVIR checks operational status; monthly / quarterly / annual PM checks mechanical, electrical, and reflective condition. All 4 amber lights must flash at 60-120 flashes per minute; all 4 red lights must synchronize with the stop arm deployment.
How often should a school bus stop arm be inspected?
Daily -- the driver verifies deployment and retraction on the pre-trip DVIR. Monthly -- the shop cleans the reflective sheeting, lubricates the hinge, and verifies battery voltage under load. Quarterly -- actuator amp draw test (should be 3-8 amps; over 10 amps means actuator wear). Annually -- full disassembly for internal brush and gear inspection, reflective sheeting replacement if faded, and complete electrical continuity test before back-to-school. This four-tier schedule catches issues before they cause an in-service failure.
What FMVSS 108 requires for school bus warning lights?
FMVSS 108 (Federal Motor Vehicle Safety Standard 108) governs lamps, reflective devices, and signal equipment for all motor vehicles including school buses. For school buses specifically, it requires the 8-way warning light system: four amber lights (activated on approach to a stop) and four red lights (activated when the stop arm deploys), positioned per the standard, flashing at 60-120 flashes per minute. Non-functioning warning lights during student transport is a documented FMVSS 108 violation and creates federal and state compliance exposure.
What is the typical stop arm actuator amp draw?
A healthy stop arm actuator draws 3-8 amps during the deployment cycle. Draw in this range indicates the motor, gears, and hinge are all operating normally. Amp draw creeping to 8-10 amps indicates early wear -- schedule preventive replacement. Amp draw over 10 amps means the actuator is close to failure and should be replaced before the next route. Actuators typically last 8,000-15,000 deployment cycles before brush wear becomes significant.
How does BusCMMS help with school bus safety equipment inspection?
BusCMMS ships with school bus DVIR templates that include every safety equipment item -- stop arm, all 8 warning lights, crossing gate, backup alarm, master switch. Drivers complete DVIRs on tablet before every route; failed items auto-generate work orders routed to the shop. Monthly, quarterly, and annual PM cycles auto-schedule per bus. Every inspection is logged with date, technician, and result -- compliance reports for state DOT inspections export in one click. Parts inventory tracks stop arm actuators, LED modules, flasher modules, and reflective sheeting with auto-reorder alerts so emergency parts runs stop happening mid-season. Book a 20-minute demo to see the workflow live, or start a 30-day free trial.