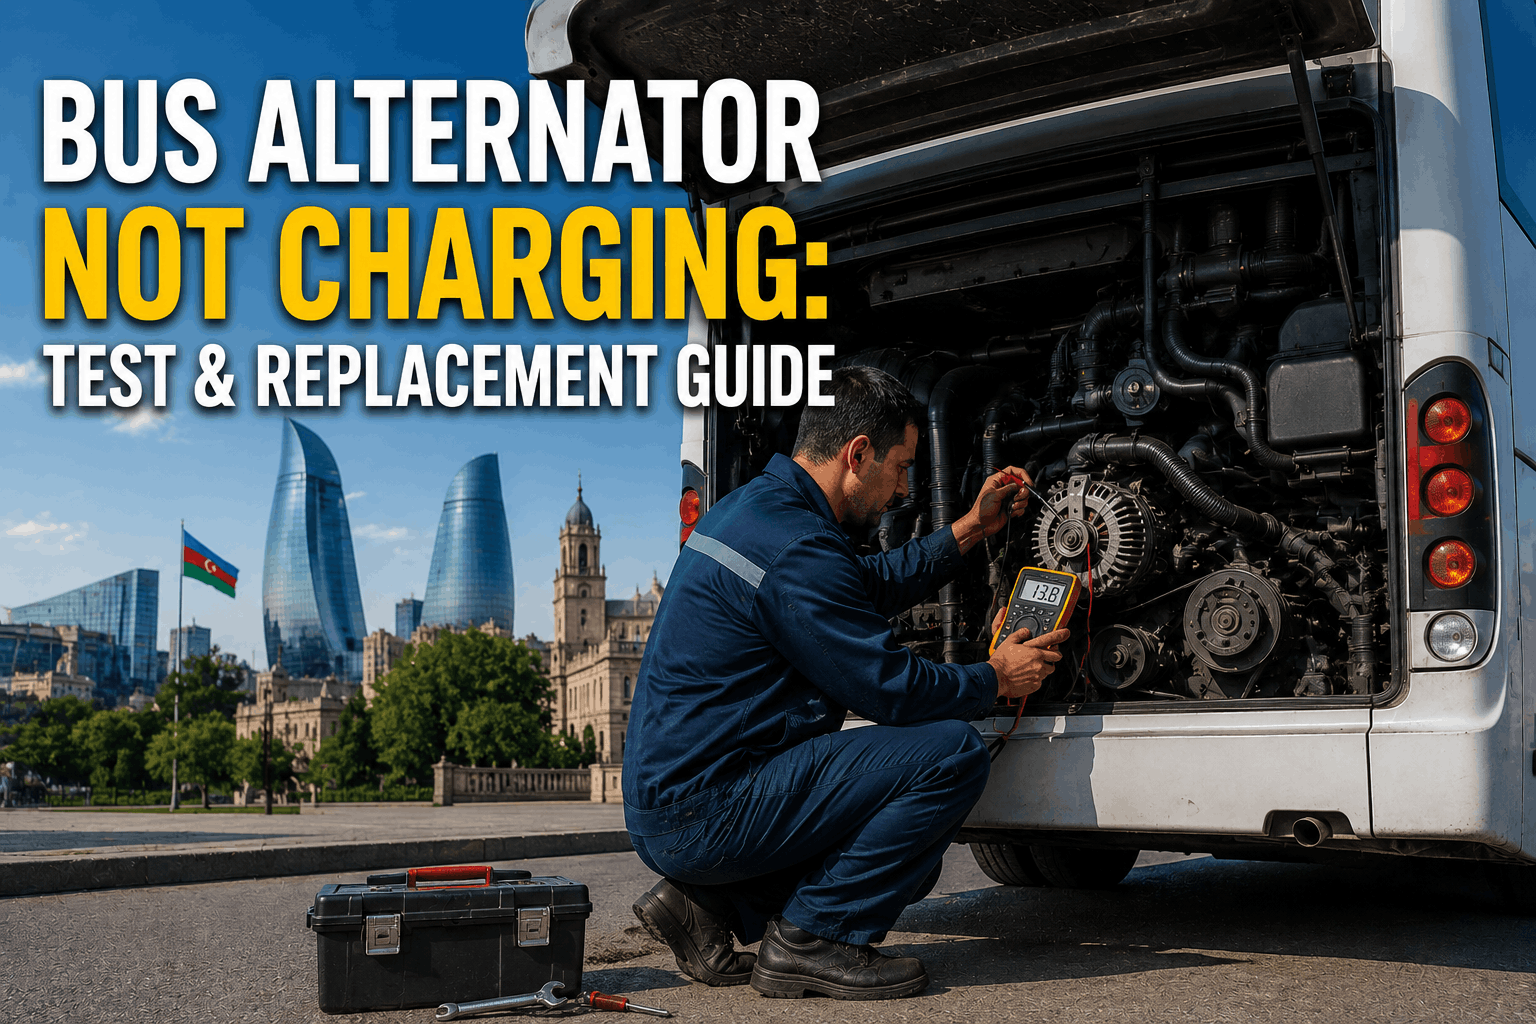
A bus alternator that's not charging will leave you with a dead battery and a stranded bus. The alternator is the heart of the electrical system, keeping the battery charged and powering all electrical loads. This guide covers how to test your alternator on the bus—output voltage, amperage, diode trio, voltage regulator, and belt tension—with a complete replacement walkthrough included.
Alternator Diagnostic Guide 2026
Bus Alternator Not Charging: Test & Replacement Guide
Bus alternator not charging? Test it on the bus — output voltage, amperage, diode trio, voltage regulator, belt tension. Replacement walkthrough included.
Alternator Failure Impact: The Cost of No Charge
A failed alternator will drain the battery and leave the bus stranded. Without proper charging, electrical systems fail, and the bus won't start. Quick diagnosis and replacement are essential for fleet reliability.
$300-$800
Alternator replacement cost
10-20 min
Diagnostic test time
1-2 hours
Replacement time
85%
Failures caught by voltage test
Alternator Diagnostic Flowchart
Step 1: Check Battery
Test battery voltage. Should be 12.6V+ (engine off). If low, charge battery before testing alternator.
Step 2: Check Belt Tension
Inspect drive belt for wear and tension. Loose belt slips and reduces alternator output.
Step 3: Voltage Output Test
Start engine. Check voltage at battery. Should be 13.8-14.4V. Low voltage indicates alternator failure.
Step 4: Amperage Output Test
Use a clamp meter to test amperage output. Compare to alternator rating. Low amperage indicates internal failure.
Step 5: Diode Trio Test
Check for AC voltage at battery. Any AC voltage indicates diode failure. Replace alternator.
Step 6: Voltage Regulator Check
If voltage fluctuates or is out of spec, regulator may be faulty. Replace alternator or regulator.
Step 7: Success
Charging system restored! Document diagnosis and repair for future reference.
Top 5 Causes of Alternator Failure
1. Diode Trio Failure
Frequency: 30% of alternator failures. Failed diodes cause AC voltage output. Test for AC ripple. Replace alternator.
2. Voltage Regulator Failure
Frequency: 25% of alternator failures. Regulator not controlling voltage properly. Replace alternator or regulator.
3. Worn Bearings
Frequency: 18% of alternator failures. Bearing wear causes noise and eventual failure. Replace alternator.
4. Broken Belt
Frequency: 15% of alternator failures. Belt snapped or severely worn. Replace belt and inspect tensioner.
5. Electrical Overload
Frequency: 12% of alternator failures. Excessive electrical load burns out alternator. Reduce load or upgrade alternator.
Alternator Failure Causes Distribution
Diode trio failure is the #1 cause at 30%, followed by voltage regulator failure at 25%. Worn bearings account for 18%. Together, these three causes represent 73% of all alternator failure cases. Broken belts and electrical overload make up the remaining 27%.
Repair Cost by Cause
Belt replacement averages $60. Regulator repair averages $150. Diode repair averages $200. Bearing repair averages $280. Full alternator replacement is the most expensive at $500 average.
Alternator Failure & PM Trends
Charging system PM compliance and alternator failure trends show inverse correlation. As PM compliance improves from 60% to 95% over seven years, alternator failures decrease from 30% to 5%. Regular voltage tests, belt inspections, and output checks prevent most alternator failures.
Alternator Replacement Walkthrough
Safety First
Disconnect the battery (negative cable first). Allow the engine to cool completely. Wear safety glasses and gloves.
Remove Drive Belt
Loosen the tensioner or adjuster. Remove the belt from the alternator pulley. Inspect belt for wear and replace if needed.
Disconnect Electrical
Remove the positive cable, plug connector, and any ground wires. Label all connections for reinstallation.
Remove Alternator
Remove mounting bolts. Take note of bracket configuration. Remove alternator from the bus.
Install New Alternator
Position new alternator. Install mounting bolts but don't tighten fully yet. Reconnect electrical connections.
Install Belt & Tighten
Reinstall the drive belt. Tension to spec. Tighten all bolts to manufacturer torque specs.
Test System
Reconnect battery (positive first). Start engine. Test voltage output. Should be 13.8-14.4V.
Alternator Diagnostic KPIs
Track these five metrics to measure your alternator diagnostic program effectiveness:
Alternator Failure Rate
Target: Decreasing trend per 100,000 miles. Track monthly. Spike indicates PM gaps.
Diagnostic Time
Target: Under 15 minutes average. Track monthly. Longer times indicate training gaps.
Charging System PM Compliance
Target: 100% at every interval. Track by bus. Missed PM causes alternator failure.
Belt Inspection Rate
Target: 100% at every PM. Track by bus. Worn belts cause charging issues.
Voltage Test Compliance
Target: 100% at every PM. Track by bus. Early detection prevents failures.
Our fleet of 85 buses implemented this alternator diagnostic workflow. In the first year, alternator failure rate decreased by 55%. Average diagnostic time dropped from 22 to 11 minutes. Charging system PM compliance improved from 65% to 96%. Alternator replacement costs decreased by 30% with better maintenance.
Digitize Your Alternator Diagnostic Program
BusCMMS guides technicians through every alternator diagnosis—voltage output testing, amperage measurement, diode trio testing, regulator verification, and belt inspection. Track alternator failures, diagnostic time, and PM compliance. Auto-schedule charging system PM to prevent alternator failures before they strand your buses.
Alternator Charging FAQs
How do I test a bus alternator?
Start the engine. Check voltage at the battery with a multimeter. Should be 13.8-14.4V. Test amperage output with a clamp meter. Check for AC voltage (should be 0V). Any AC voltage indicates diode failure.
What causes an alternator to stop charging?
The most common causes are failed diodes, voltage regulator failure, worn bearings, broken or slipping belt, and electrical overload. Start with a voltage test, then check belt tension and condition.
How long does it take to replace a bus alternator?
Replacing a bus alternator typically takes 1-2 hours for a skilled technician. Access can vary by bus model. Some alternators are easier to reach than others. Factor in time for belt routing and electrical connections.
How do I know if my alternator belt is bad?
Inspect the belt for cracks, glazing, or fraying. Check tension—it should deflect about 1/2 inch with moderate pressure. A loose belt will squeal and reduce alternator output. Replace if worn.
What is the average lifespan of a bus alternator?
Bus alternators typically last 150,000-250,000 miles with proper maintenance. Heavy-duty cycles may shorten life. Regular voltage tests and belt inspections extend alternator life.
Can BusCMMS track alternator diagnostics?
Yes. BusCMMS tracks all alternator diagnostics, voltage readings, amperage tests, belt inspections, and replacements. The system generates diagnostic checklists and creates complete records for every alternator service in your fleet.
The Bottom Line
A bus alternator that's not charging will leave you with a dead battery and a stranded bus. Understanding the top 5 causes—diode trio failure (30%), voltage regulator failure (25%), worn bearings (18%), broken belt (15%), and electrical overload (12%)—helps technicians diagnose problems fast and make smart repair decisions. The diagnostic flowchart provides a systematic approach: test the battery, check belt tension, verify voltage output, test amperage, check diode trio, and test the voltage regulator. Most diagnoses can be completed in under 15 minutes. Regular charging system PM—voltage tests, belt inspections, and output checks—prevents most alternator failures before they leave your bus stranded. When combined with BusCMMS diagnostic checklists and repair documentation, your maintenance team becomes proactive—catching charging system issues before they cause battery drain or roadside breakdowns.