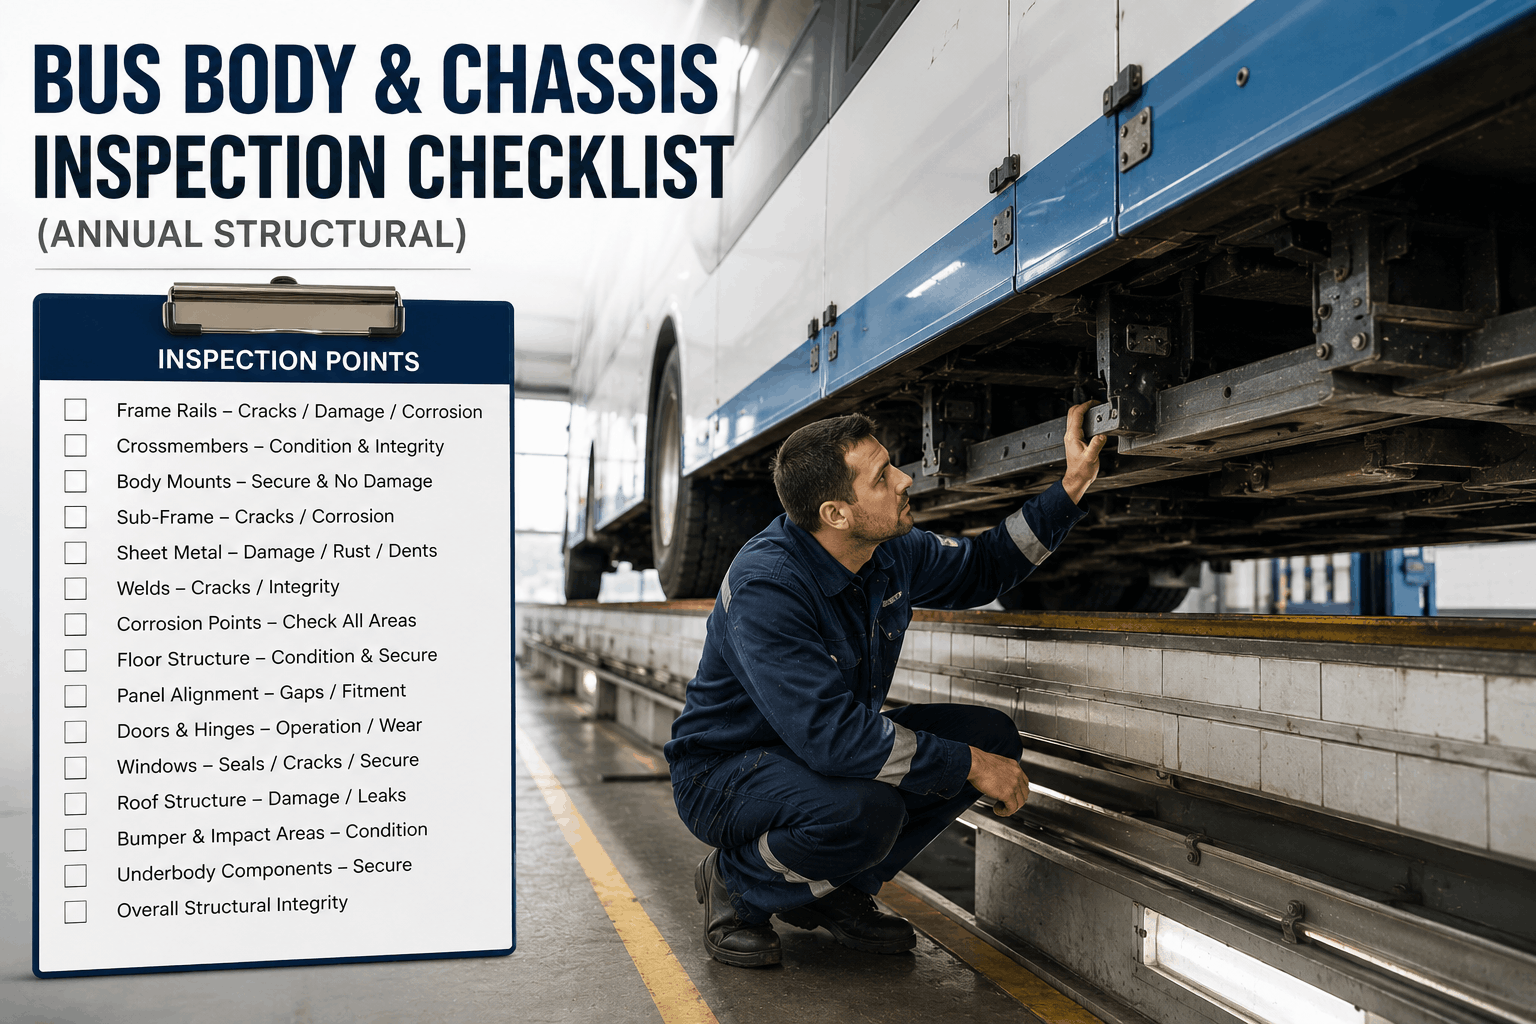
The body and chassis form the structural backbone of every bus. A cracked frame rail, corroded crossmember, or failed body mount can compromise the entire vehicle's structural integrity—affecting steering, braking, suspension, and crash protection. Unlike engine or transmission failures that give warning signs, structural failures can be sudden and catastrophic. A cracked frame rail can snap during a turn. A corroded crossmember can collapse under load. A failed body mount can cause the body to separate from the chassis during a collision. This comprehensive annual bus body and chassis inspection checklist covers frame rails, crossmembers, body mounts, sheet metal, corrosion points, weld integrity, sub-frame health, and structural repair documentation. Use it as your standard procedure for annual structural inspections and post-accident assessments.
Structural Safety Guide 2026
Bus Body & Chassis Inspection Checklist (Annual Structural)
Annual bus body and chassis inspection workflow. Frame rails, crossmembers, body mounts, sheet metal, corrosion points, weld integrity, sub-frame health.
Why Annual Structural Inspections Are Critical: The Hidden Safety Risk
Structural failures are among the most dangerous bus breakdowns because they happen without warning and can be catastrophic. A cracked frame rail can cause loss of vehicle control. Corroded crossmembers can collapse, affecting drivetrain alignment and braking. Failed body mounts can cause the body to shift relative to the chassis, affecting steering response and stability. The most common structural issues found during annual inspections include: frame rail cracks (especially around suspension and steering mounts), crossmember corrosion, body mount failure, floor pan corrosion, and sub-frame damage.
The financial impact of structural failure is severe. Frame rail repair or replacement costs $8,000–$20,000. Body mount replacement costs $2,000–$5,000. Corrosion repair can cost $5,000–$15,000 depending on extent. A structured annual structural inspection process is the most effective way to catch these issues early and prevent catastrophic failures.
Structural Inspection Categories: The Complete Checklist
This comprehensive structural inspection checklist covers every major structural component. Use it during annual structural inspections, post-accident assessments, and pre-purchase inspections.
Corrosion Hotspots: Where to Look First
Frame Rail Ends
Corrosion often starts at frame rail ends where road salt and moisture accumulate. Inspect front and rear frame rail ends thoroughly. Tap with hammer to test for sound metal.
Suspension Mounting Points
Suspension brackets trap moisture and debris. Inspect around leaf spring mounts, air bag mounts, and shock mounts. Corrosion here can cause suspension failure.
Wheel Wells
Wheel wells are exposed to road salt, mud, and moisture. Inspect floor pan above wheel wells. Corrosion here often indicates future body failure.
Battery Compartment
Battery acid and moisture create ideal corrosion conditions. Inspect compartment floor and mounting points. Corrosion from battery acid can be extensive.
Entry Doors and Steps
Entry areas trap moisture from rain and snow. Inspect door frames, floor pans, and step wells. Corrosion here creates safety hazards.
Body-to-Chassis Mounts
Body mounts trap moisture between body and chassis. Inspect mounts and surrounding area for corrosion. Failed mounts can cause alignment issues.
Common Structural Issues and Root Causes
Frame Rail Crack
Cause: Fatigue from heavy loads, stress from suspension or steering, or impact damage. Fix: Weld repair or rail replacement. Reinforce area after repair.
Crossmember Corrosion
Cause: Road salt, moisture, and debris trapped in crossmember channels. Fix: Replace corroded crossmembers. Apply rust prevention coating to new parts.
Body Mount Failure
Cause: Aging rubber, salt corrosion, or impact damage. Fix: Replace body mounts. Inspect mounting points for corrosion. Realign body after replacement.
Floor Pan Corrosion
Cause: Moisture trapped under floor mats or from leaks. Fix: Cut out corroded area. Weld in new material. Apply corrosion protection.
Structural Weld Failure
Cause: Poor weld quality, fatigue, or corrosion. Fix: Repair or replace failed welds. Inspect adjacent areas for stress damage.
Post-Accident Damage
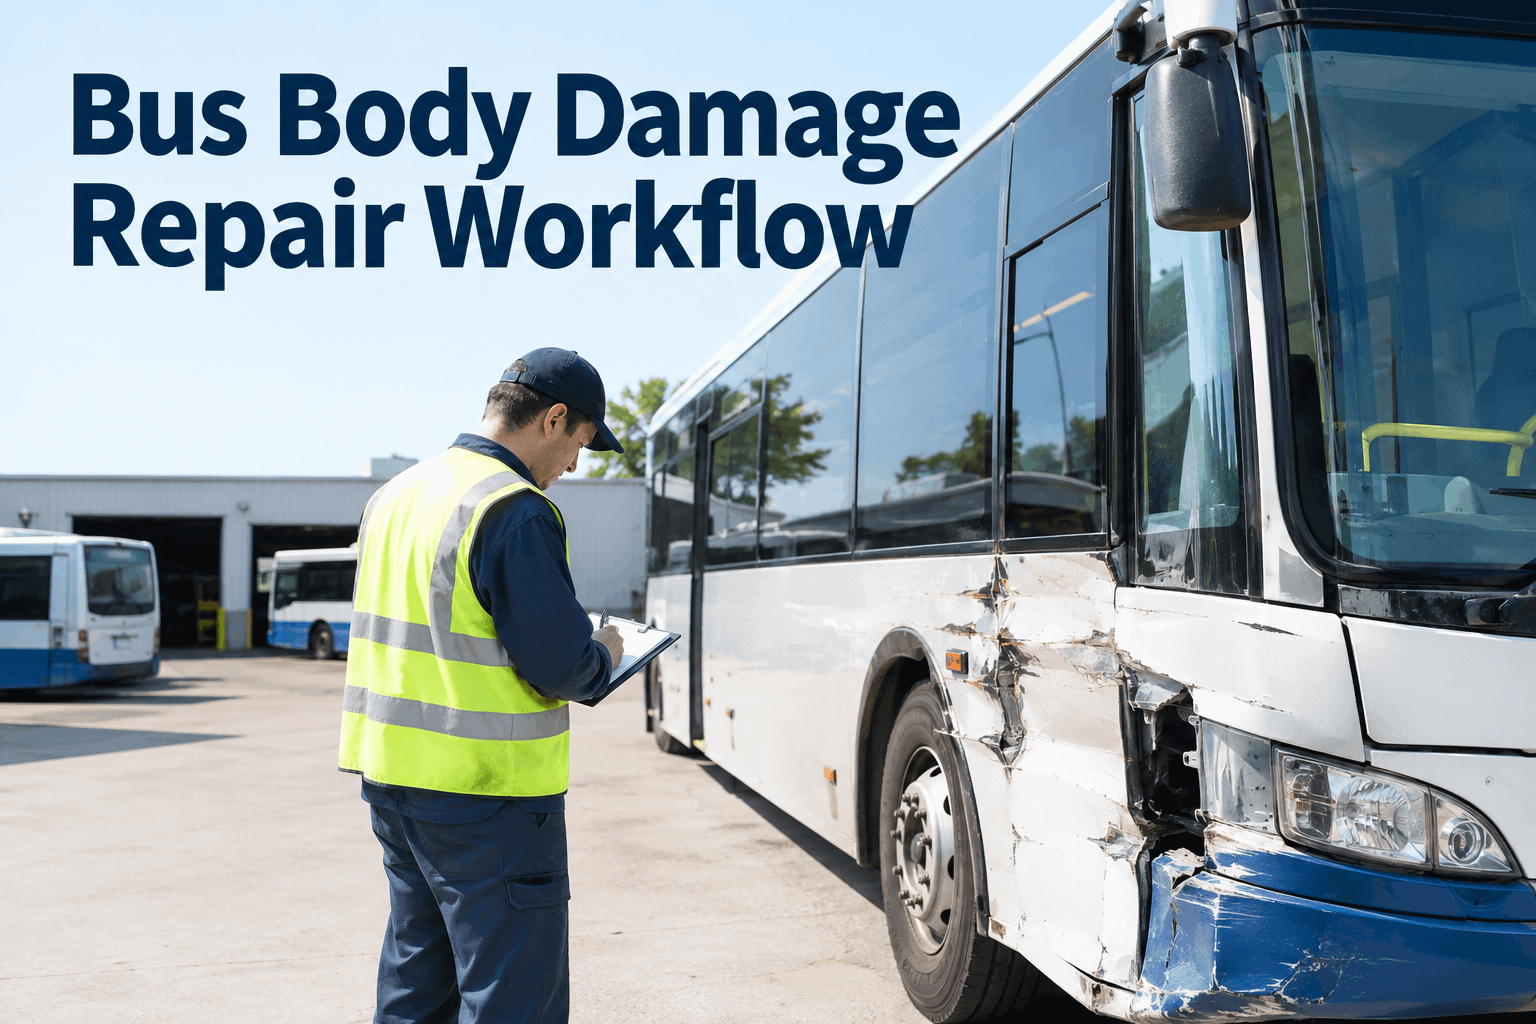
Cause: Previous collisions not properly repaired. Fix: Fully inspect affected areas. Repair hidden damage. Document repairs.
We implemented this annual structural inspection checklist across our 95-bus fleet. In the first year, we found 12 frame rail cracks, 8 corroded crossmembers, and 17 body mounts that had failed or were failing. We caught these issues during scheduled inspections—before they caused catastrophic failures. One frame rail crack was found on a bus that had been running for 500,000 miles. The crack was at a suspension mount and could have snapped during a turn. The annual structural inspection saved us from a potential accident and liability.
Digitize Your Structural Inspection Process
BusCMMS guides technicians through every structural inspection point—frame rails, crossmembers, body mounts, sheet metal, corrosion assessment, and weld integrity verification. Auto-schedule annual structural inspections. Complete audit trail with photo documentation for every structural component in your fleet.
Bus Body & Chassis FAQs
How often should bus body and chassis inspections be performed?
Annual structural inspections are required for DOT compliance. Additional inspections should be performed after any accident, after major corrosion discovery, and when structural issues are suspected. High-mileage buses in corrosive environments may require more frequent inspections.
What are the most common structural issues found in older buses?
Common issues include: frame rail corrosion (especially around suspension mounts), crossmember corrosion, body mount deterioration, floor pan corrosion in entry areas, and fatigue cracks in frame rails around high-stress mounting points. Buses operating in snow belt states have higher corrosion rates.
What tools are needed for structural inspection?
Essential tools include: a flashlight for visual inspection, a small hammer for tapping suspect areas, a screwdriver for probing corrosion, a welding gauge for weld inspection, and a camera for documentation. For corrosion, a thickness gauge may be useful. Always wear appropriate safety equipment when inspecting under buses.
How do I know if a frame rail crack is serious?
Any crack in a frame rail should be treated seriously. Cracks around suspension mounts, steering box mounts, and engine mounts are particularly dangerous. If a crack extends through more than 10% of the rail height or is located near a major mounting point, the bus should be taken out of service immediately and the crack repaired by a qualified structural shop.
Can bus body and chassis repairs be done in-house?
Structural repairs require specialized equipment and expertise. Frame straightening, rail replacement, and major corrosion repair should be performed by qualified structural repair shops. Minor welding and corrosion repair may be performed in-house if technicians have proper training and equipment. Always follow OEM repair guidelines.
Can BusCMMS track structural inspection history?
Yes. BusCMMS tracks structural inspection results, corrosion documentation, repair records, and photo evidence. This creates a complete structural history for each bus, helping identify deterioration patterns and plan lifecycle replacements.
The Bottom Line
Bus body and chassis structural inspections are not optional—they are critical safety tasks that protect your passengers, your drivers, and your fleet's reputation. A single structural failure can cause catastrophic accidents, serious injuries, and significant liability. This checklist provides the step-by-step procedure your technicians need to inspect every structural component—frame rails, crossmembers, body mounts, sheet metal, corrosion points, and weld integrity. When combined with BusCMMS digital inspection forms, photo documentation, and structural history tracking, your structural inspection program becomes proactive—catching issues before they become safety hazards or catastrophic failures.