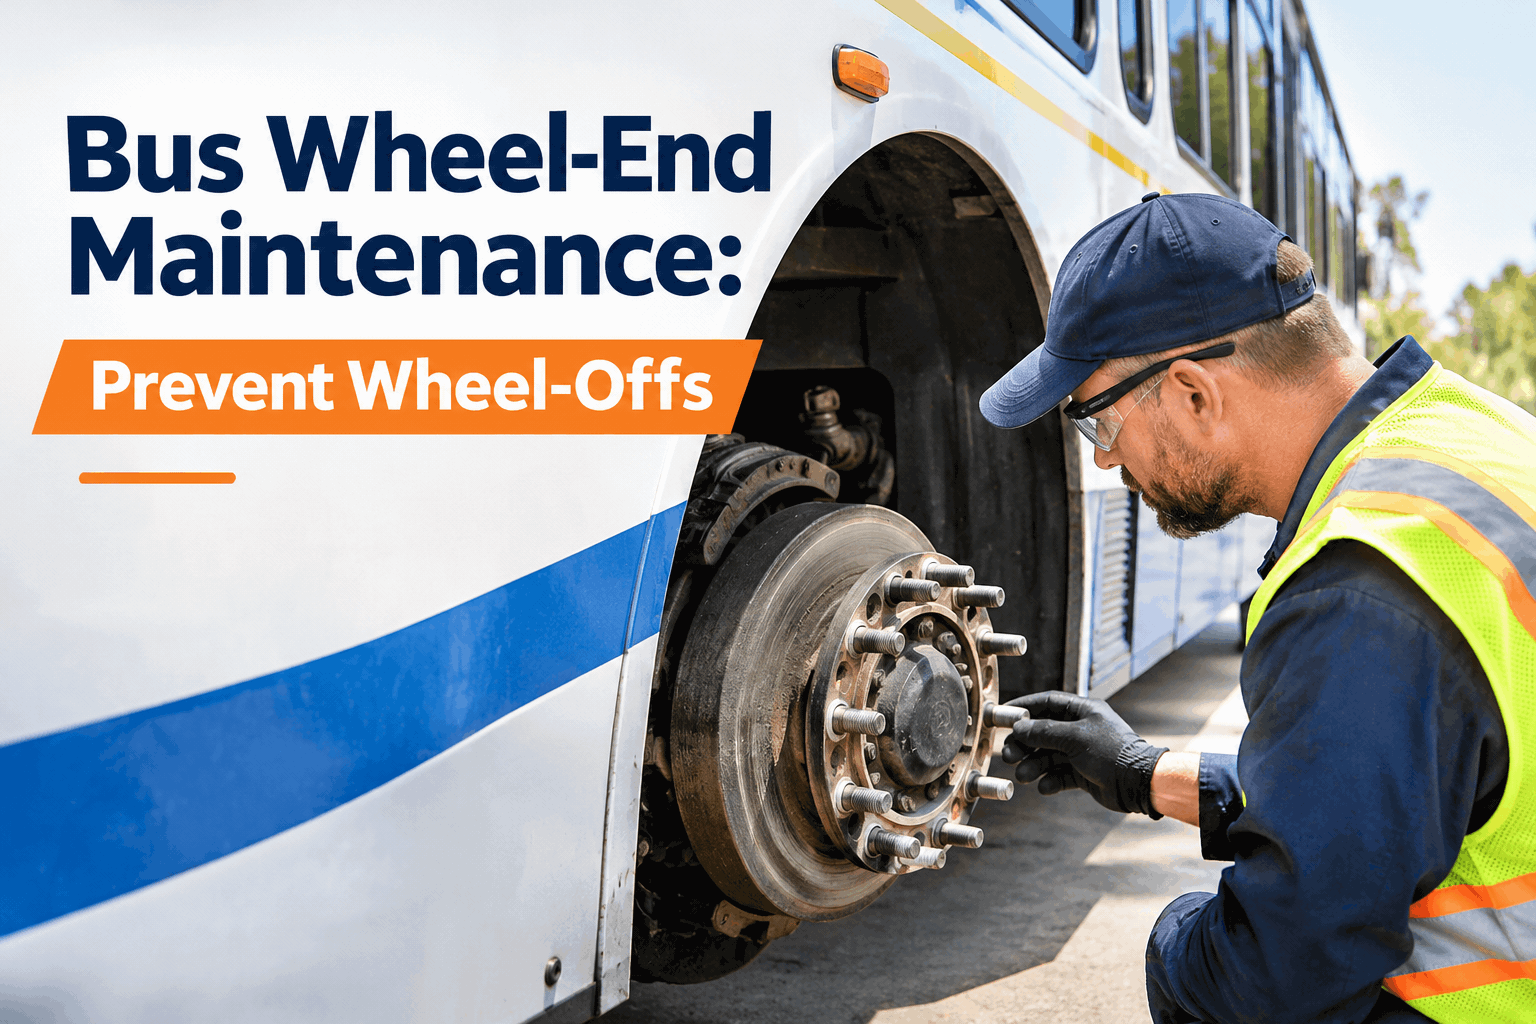
A wheel leaving a moving bus is every transportation director's worst call — and it starts small: a loose lug, a rust streak, a bearing nobody logged. Bus wheel-end maintenance is the discipline that keeps that call from coming, and almost every wheel-off is preventable. Want the checks tracked on every bus? See it in a quick demo.
Bus Wheel-End Maintenance: Prevent Wheel-Offs
A wheel-off has two roads in, and both are preventable. Know how clamping force and bearings fail — and build the checks that close both roads before a wheel ever leaves a bus.
Why Wheel-Offs Happen — and Why They're Preventable
A wheel does not fall off a bus by bad luck. It comes down to two failure modes, and investigations put most separations on the fastener side — lug nuts that lost clamping force — with the rest on bearings that were over- or under-adjusted or starved of lube. Both leave a trail of warning signs, which is exactly why a disciplined wheel-end routine stops them.
Lost clamping force
Improper torque or installation is the most common cause. Under-torqued nuts loosen, over-torqued studs stretch and fail — either way the wheel is no longer clamped to the hub.
Bearing failure
Over- or under-tightened bearings, or lost lubrication from a failed seal, destroy a hub. Dried lube, water, and road salt grind a bearing to pieces.
The stakes are unique
On a school or transit bus a wheel-off is not just downtime — it is a safety and liability event with children or passengers aboard. The margin for error is zero.
Investigations have attributed roughly 65% of wheel separations to wheel fasteners and about 26% to bearing or wheel-end failures — both well within reach of routine inspection and correct torque.
The Wheel-End Is a System, Not a Part
A wheel-end is a stack of interdependent components, each with its own failure mode and its own inspection point. A single "wheel-end OK" tick lets a half-failed assembly get signed off whole — every component needs its own measurable check.
Record a measurable observation at each point — hub temperature, endplay, seal condition, torque — not a single pass/fail. Pass/fail on the whole assembly is what lets a defect hide.
Per-component entries are what catch a partly-failed wheel-end before it is cleared. You can sign up free and log each wheel position's checks per bus so nothing gets signed off whole.
Torque Is the Whole Game: Do It Right
Most wheel-offs are a torque story. A lug nut is a clamping device, and it only clamps when it is tightened correctly, in the right order, with the right tool. Three rules carry almost all of it — and the re-torque is the one that catches the wheel-off before it happens.
Calibrated torque wrench for final torque
An impact gun is for run-down and removal only — never final torque. Over-torquing with an impact stretches and weakens the studs.
Star pattern, to the right spec
Tighten across the wheel starting at the top, never around the circle. Hub-piloted 33mm flange nuts are commonly 450-500 ft-lbs — confirm your OEM spec.
Re-torque at 50-100 miles
After the first run, check every lug. If a nut moves more than a quarter turn, the wheel was not seated — investigate before releasing the bus.
Get these three right and you have closed the fastener road almost entirely. A demo shows the re-torque fired automatically after a wheel-service work order.
Warning Signs, and What They Mean
Wheel-ends do give warning — if someone is looking. Train drivers and techs to catch these on pre-trip and PM, and log them so they become a work order instead of a memory.
Swipe sideways to see all columns.
Each of these is a wheel-off caught early — but only if it is written down and turned into a work order, instead of noticed and forgotten before the bus rolls.
Your Wheel-End Inspection Checklist
Build these into your PM and every wheel service, not your memory. The red items are the ones directly tied to a wheel-off; the amber ones catch the failure chain earlier. Torque values and endplay specs vary — always confirm against your OEM and TMC recommended practice.
- Re-torque every lug 50-100 miles after any wheel serviceThe single highest-leverage step. A nut moving more than a quarter turn means the wheel was not seated — stop and investigate.CRITICAL
- Torque to spec with a calibrated wrench, in a star patternNever use an impact gun for final torque. Clean studs, correct sequence, and the right oiled/dry spec for your wheel type.CRITICAL
- Check and record bearing endplay at PMFollow TMC RP 618 adjustment and record the endplay measurement every PM — the margin is only a few thousandths of an inch.CRITICAL
- Inspect the seal and lubricant conditionA leaking seal starves the bearing. Dark, gritty, or metal-flecked lube means the bearing needs inspection or replacement, not just a top-off.INSPECT
- Compare hub temperature across the axleA hub running well hotter than its neighbor after a run is a bearing warning. Use a touch or IR check during PM.MEASURE
- Log each wheel position per busRecord torque, endplay, and condition by wheel position so a repeat problem on one corner stands out and the history is provable.TRACK IT
Run it on every wheel-end touch and the failure chain gets caught in the bay, not the breakdown lane. You can see this checklist run as a scheduled PM in a demo.
How BusCMMS Keeps Wheels On
BusCMMS does not torque a lug or pack a bearing — it makes sure the re-torque happens, the wheel-end PM fires, and every check is recorded by wheel position. The discipline above becomes a system that will not let a step be skipped.
Automatic re-torque reminder
Every wheel-service work order triggers the 50-to-100-mile re-torque task, so the step that catches wheel-offs never slips.
Mileage-triggered wheel-end PM
Bearing endplay, seal, and torque checks scheduled on the right cycle, with the endplay recorded as a required PM entry.
Per-wheel audit trail
Torque and condition logged by position and signed off — the record that proves it was done at a CVSA inspection or in court.
The result is a wheel-end history you can stand behind and wheels that stay on. Book a demo and bring your PM intervals.
A Shop Foreman's Take
Key Takeaways on Preventing Wheel-Offs
A wheel-off is preventable, and it comes down to a few disciplined habits. Four things to hold onto.
Two roads, both preventable
Lost clamping force and bearing failure cause nearly every wheel-off — and both leave warning signs.
The re-torque is non-negotiable
A 50-to-100-mile re-torque after any wheel service catches most post-service wheel-offs.
Torque right, in a star pattern
Calibrated wrench, correct sequence and spec — never an impact gun for final torque.
Measure and log each point
Per-component, per-wheel records catch a half-failed assembly before it gets signed off.
Close both roads — torque discipline with a verified re-torque, and measured bearing and seal checks on a schedule — and a wheel-off stops being a risk you carry. On a bus full of kids, the wheel-end is not the place to hope; it is the place to measure, log, and verify.