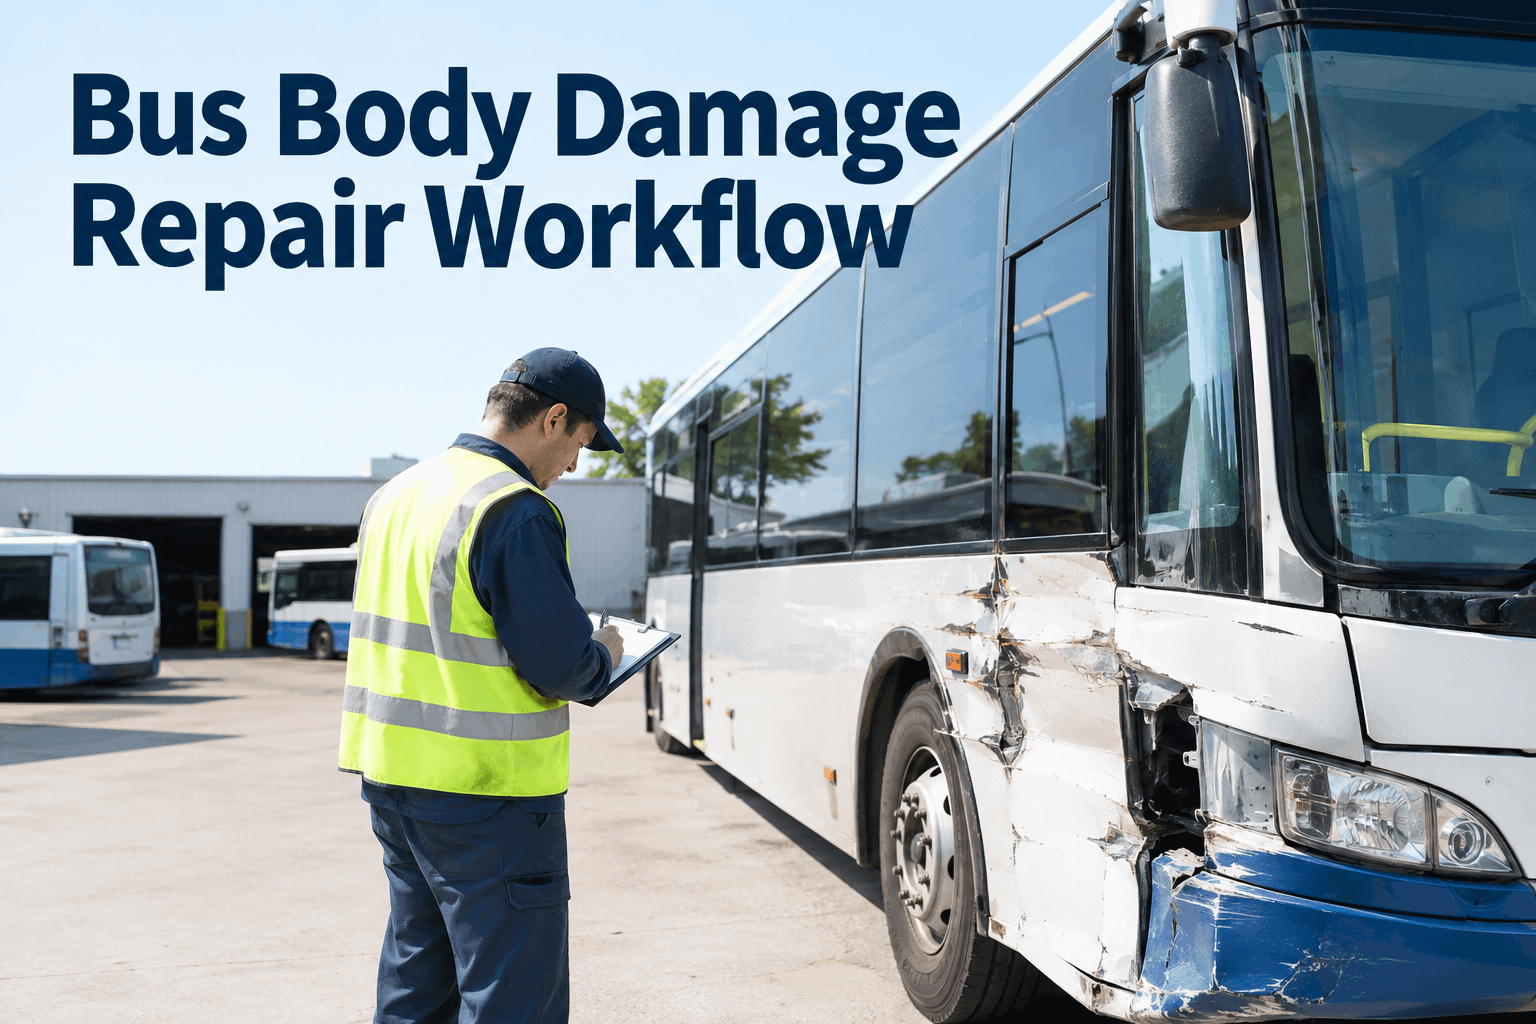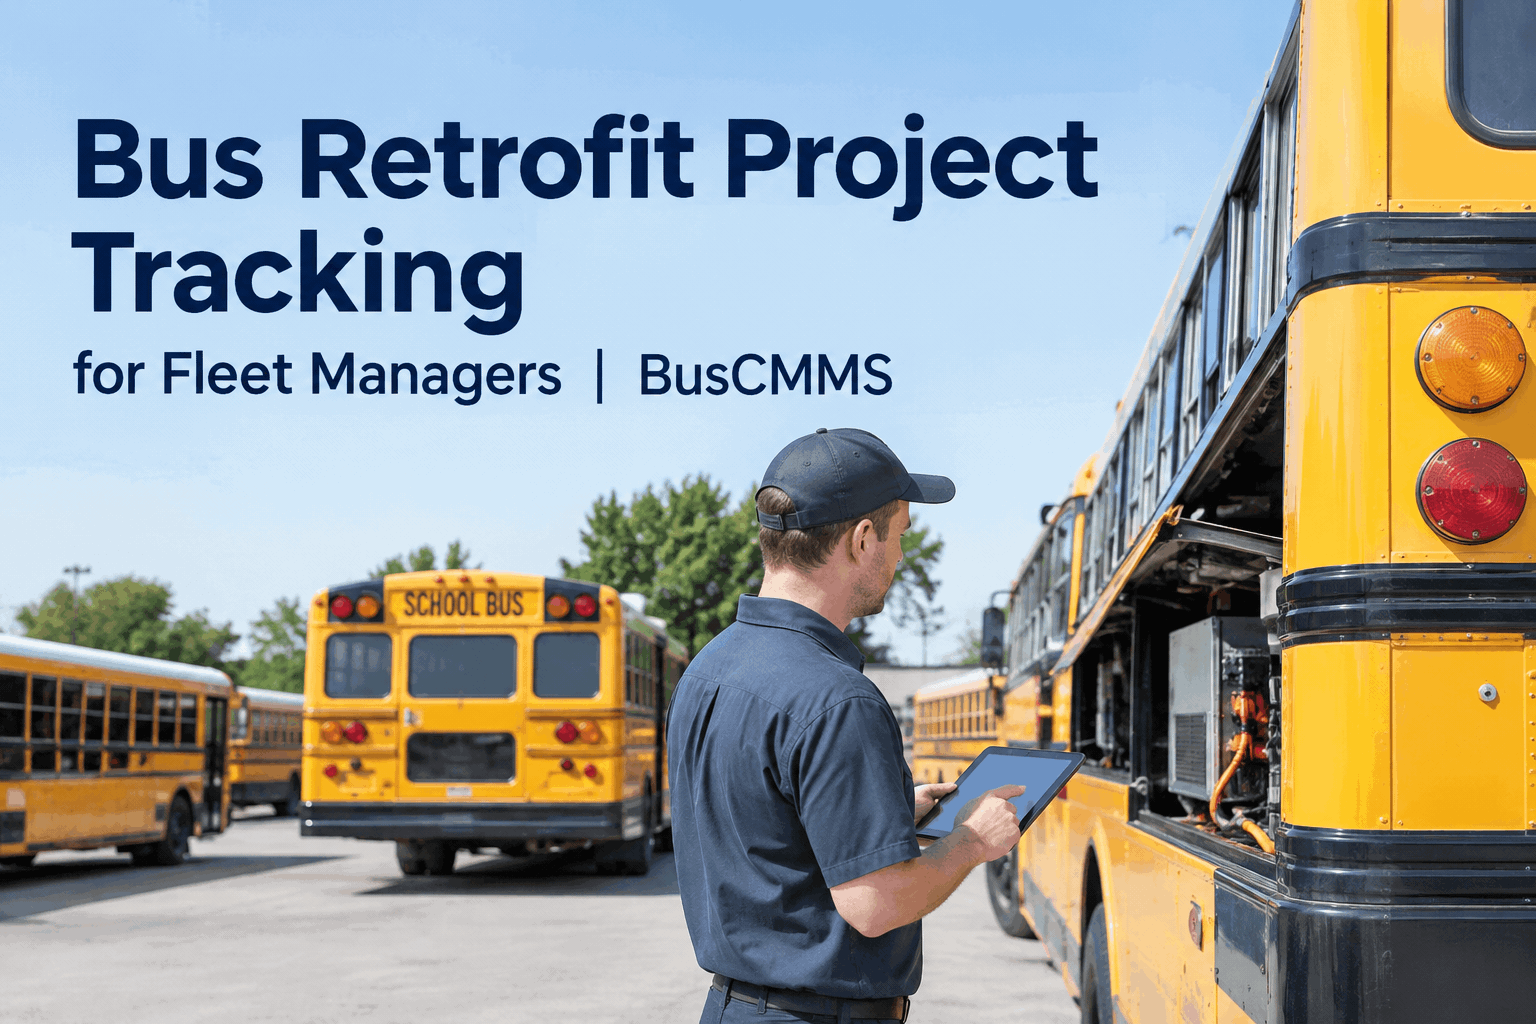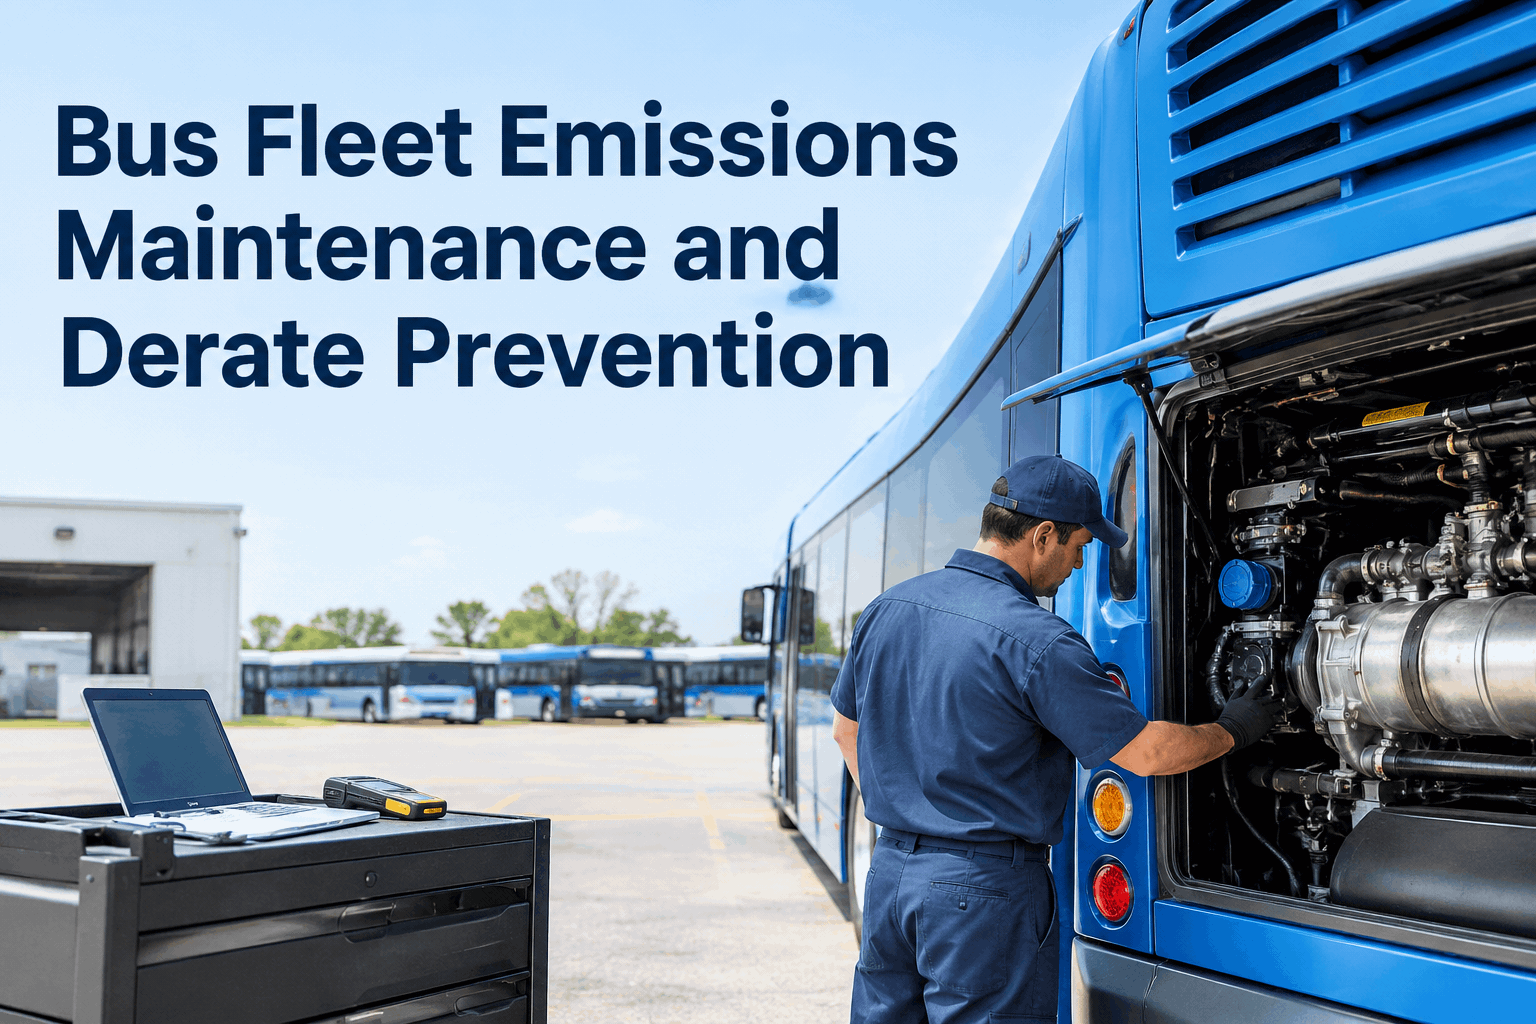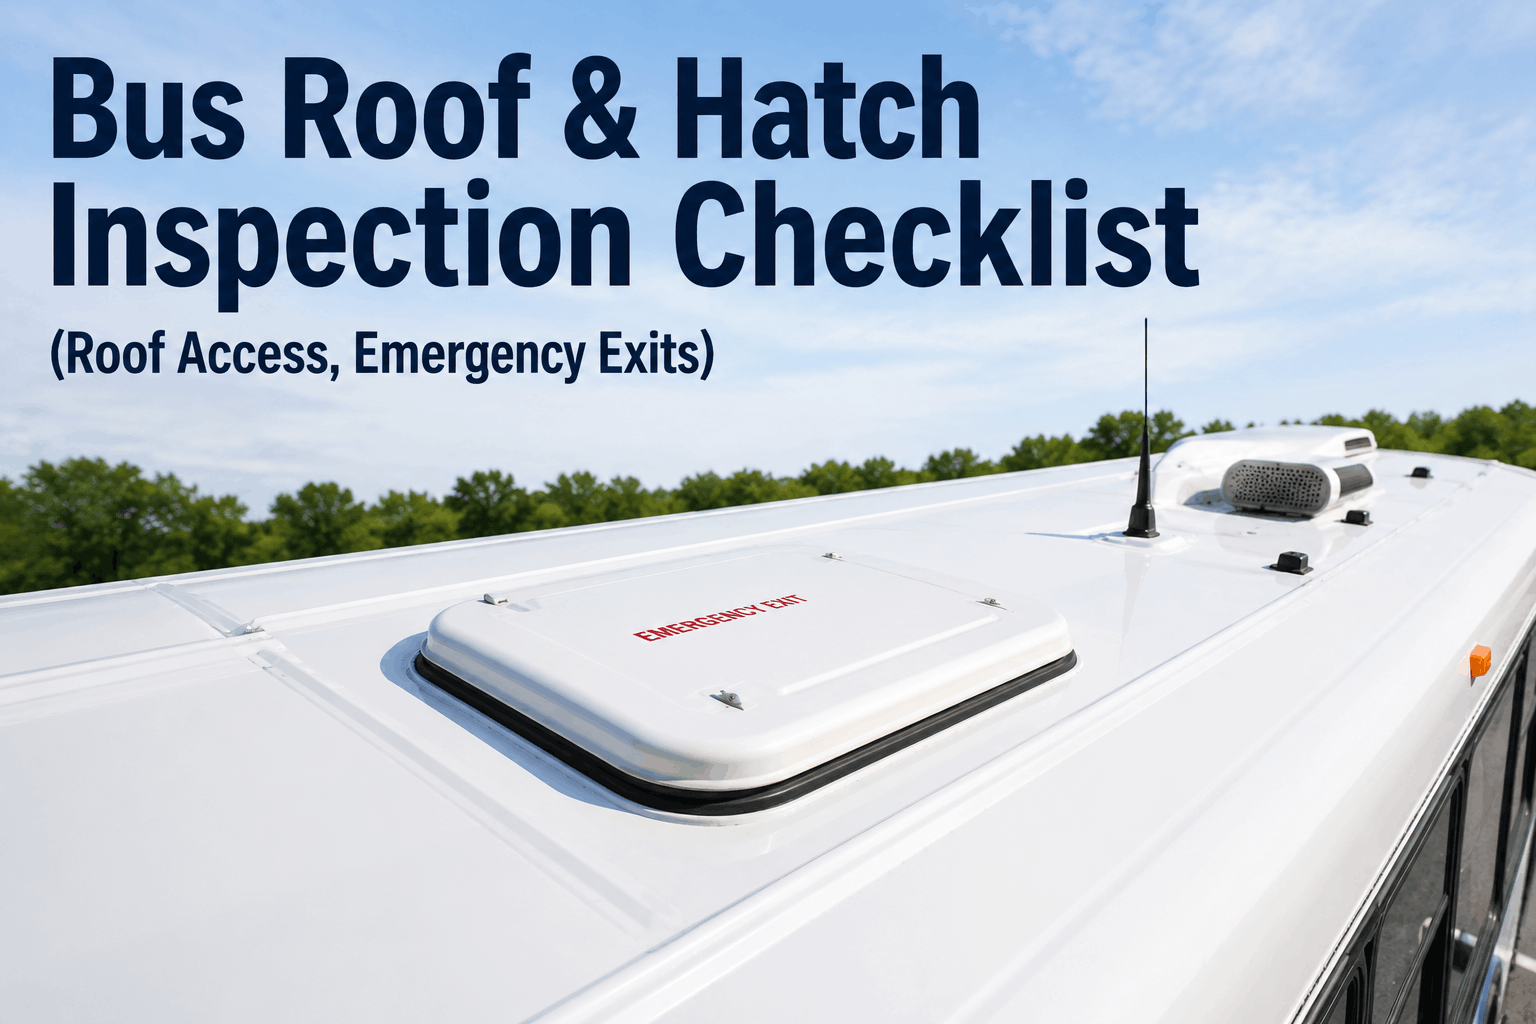
The roof and hatches of a bus are often overlooked during routine inspections, yet they are critical for structural integrity, weather protection, and emergency egress. A roof leak can cause interior damage, electrical issues, and corrosion that weakens the structure. A stuck escape hatch can prevent passengers from exiting during an emergency. A loose roof rack can become a projectile. This comprehensive bus roof and hatch inspection checklist covers roof skin condition, seam integrity, drip rails, escape hatch operation, ventilator function, antenna mounts, and roof rack security. Use it as your standard procedure for every roof and hatch PM inspection and annual structural inspection.
Roof Safety Guide 2026
Bus Roof & Hatch Inspection Checklist (Roof Access, Emergency Exits)
Bus roof and hatch inspection workflow. Roof skin, seam integrity, drip rails, escape hatches, ventilator function, antenna mounts and roof rack security.
Why Roof and Hatch Inspections Are Critical: The Structural and Safety Reality
Roof and hatch failures are often discovered only after they cause damage or compromise safety. A roof leak can cause electrical shorts, corrosion, and interior damage that is expensive to repair. A stuck escape hatch can trap passengers during an emergency, preventing evacuation. Loose roof components can detach and become road hazards. The most common roof and hatch failures include: roof skin corrosion or damage, seam separation or seal failure, drip rail damage, escape hatch binding or stuck, ventilator failure, loose antenna mounts, and insecure roof racks.
FMCSA and DOT regulations require functioning emergency exits—including roof hatches on some bus types. Annual DOT inspections include roof and hatch verification. A structured roof and hatch inspection process is the most effective way to ensure structural integrity, weather protection, and emergency egress.
Roof and Hatch Categories: The Complete Breakdown
Roof Skin Condition
Inspect roof skin for corrosion, damage, or delamination. Check for signs of previous repairs. Address any corrosion or damage before it spreads.
Roof Seams and Seals
Inspect all roof seams for seal integrity. Check for gaps, cracks, or deterioration. Verify seals are intact and weatherproof. Reseal as needed.
Drip Rails
Inspect drip rails for damage, corrosion, or missing sections. Verify proper water drainage. Clean debris from drip rails.
Escape Hatches
Inspect escape hatches for operation and condition. Verify hatches open freely from inside and outside. Check seals and hinges. Test emergency release mechanisms.
Ventilators
Inspect roof ventilators for function and condition. Verify operation—open and close smoothly. Check seals and screens. Replace damaged components.
Roof Equipment
Inspect roof-mounted equipment—antennas, roof racks, HVAC units, and camera systems. Verify secure mounting and condition. Check for damage or corrosion.
Roof and Hatch Inspection Checklist: The Complete Inspection
This comprehensive roof and hatch inspection checklist covers every required component. Use it during every roof and hatch PM service, annual structural inspection, and annual DOT inspection.
Roof and Hatch Compliance Rates
The chart above shows roof and hatch compliance rates by component. Roof seams, roof equipment, and drip rails have the lowest compliance rates—they are often overlooked during routine inspections. Roof seals degrade over time and require regular inspection. Roof-mounted equipment can become loose from vibration. Drip rails can corrode and fail to channel water properly. Regular inspections are essential to maintain structural integrity and weather protection.
Common Roof and Hatch Issues and Root Causes
Roof Leak
Cause: Failed seam seal, cracked sealant, or corrosion. Fix: Identify leak source. Reseal seam. Repair corrosion. Replace damaged sections.
Corrosion
Cause: Moisture trapped under paint or sealant. Fix: Remove corrosion. Treat with rust converter. Repaint. Address moisture source.
Stuck Escape Hatch
Cause: Lack of lubrication, corrosion, or damaged mechanism. Fix: Lubricate hinges and latches. Clean corrosion. Repair or replace mechanism.
Damaged Drip Rail
Cause: Impact damage or corrosion. Fix: Repair or replace drip rail. Verify proper drainage. Clean debris.
Loose Roof Rack
Cause: Vibration loosening mounting bolts. Fix: Tighten mounting bolts. Use thread locker. Verify load capacity.
Damaged Antenna Mount
Cause: Impact, vibration, or corrosion. Fix: Replace antenna mount. Verify antenna security. Protect with anti-seize compound.
We implemented this roof and hatch inspection checklist across our 85-bus fleet. In the first year, we found 27 roof leaks that were causing interior damage, 34 failing seam seals, 12 stuck escape hatches, and 18 loose roof-mounted components. We also identified 9 corroded drip rails that were failing to channel water properly. Our roof and hatch-related leaks and failures dropped by 85% in year one. The checklist gives our technicians a systematic process for every roof and hatch inspection.
Digitize Your Roof and Hatch Inspection Process
BusCMMS guides technicians through every roof and hatch inspection point—roof skin condition, seam integrity, drip rail condition, escape hatch operation, ventilator function, and roof equipment security. Auto-schedule roof and hatch PM intervals based on mileage. Complete audit trail for every roof and hatch component in your fleet.
Bus Roof and Hatch FAQs
How often should bus roof inspections be performed?
Roof inspections should be performed at every annual structural inspection and annually as part of DOT compliance. Additional inspections should be performed after any accident, after severe weather events, and when leaks are suspected. High-mileage buses may require more frequent inspections.
What are the signs of a roof leak?
Signs include: water stains on interior ceilings, wet or damp headliners, water pooling on the roof, peeling paint or bubbling on the roof surface, and corrosion around roof fixtures. Address any signs of leaks immediately to prevent interior damage and corrosion.
How do I test an escape hatch?
Open and close the escape hatch from inside and outside. Verify smooth operation without binding. Check that the hatch locks securely when closed. Test the emergency release mechanism. Lubricate hinges and latches as needed. Document test results.
What causes roof corrosion?
Roof corrosion is caused by moisture trapped under paint, failed sealant, or damage to the protective coating. Road salt, acid rain, and bird droppings can accelerate corrosion. Regular washing and sealant inspection prevent corrosion.
How do I repair a roof leak?
Identify the leak source—typically failed seam sealant or corrosion. Remove old sealant and clean the area thoroughly. Apply new roof sealant appropriate for bus roof materials. If corrosion is present, treat with rust converter and repaint. For large or multiple leaks, consult a professional.
Can BusCMMS track roof and hatch inspection history?
Yes. BusCMMS tracks roof skin condition, seam sealant condition, drip rail condition, escape hatch function, ventilator operation, and roof equipment security. This creates a complete roof and hatch history for each bus, helping identify patterns and maintain compliance.
The Bottom Line
Bus roof and hatch inspections are essential for structural integrity, weather protection, and emergency egress. A roof leak can cause interior damage, electrical issues, and corrosion that weakens the structure. A stuck escape hatch can prevent passengers from exiting during an emergency. Regular inspection of roof skin, seams, drip rails, escape hatches, ventilators, and roof equipment is the most effective way to ensure structural integrity and passenger safety. This checklist provides the step-by-step procedure your technicians need to inspect every roof and hatch component. When combined with BusCMMS digital inspection forms, auto-scheduled PM intervals, and complete roof and hatch history tracking, your roof and hatch maintenance program becomes proactive—catching issues before they compromise structural integrity or passenger safety.