It is 6:20 a.m., and a driver notices the left rear amber warning lamp is not flashing. The bus is due on a student route in minutes. A school bus 8 light warning system inspection should make the next decision clear: record exactly what failed, get maintenance involved, and verify the repair before the bus returns to service. A simple pass mark on paper cannot tell that story.
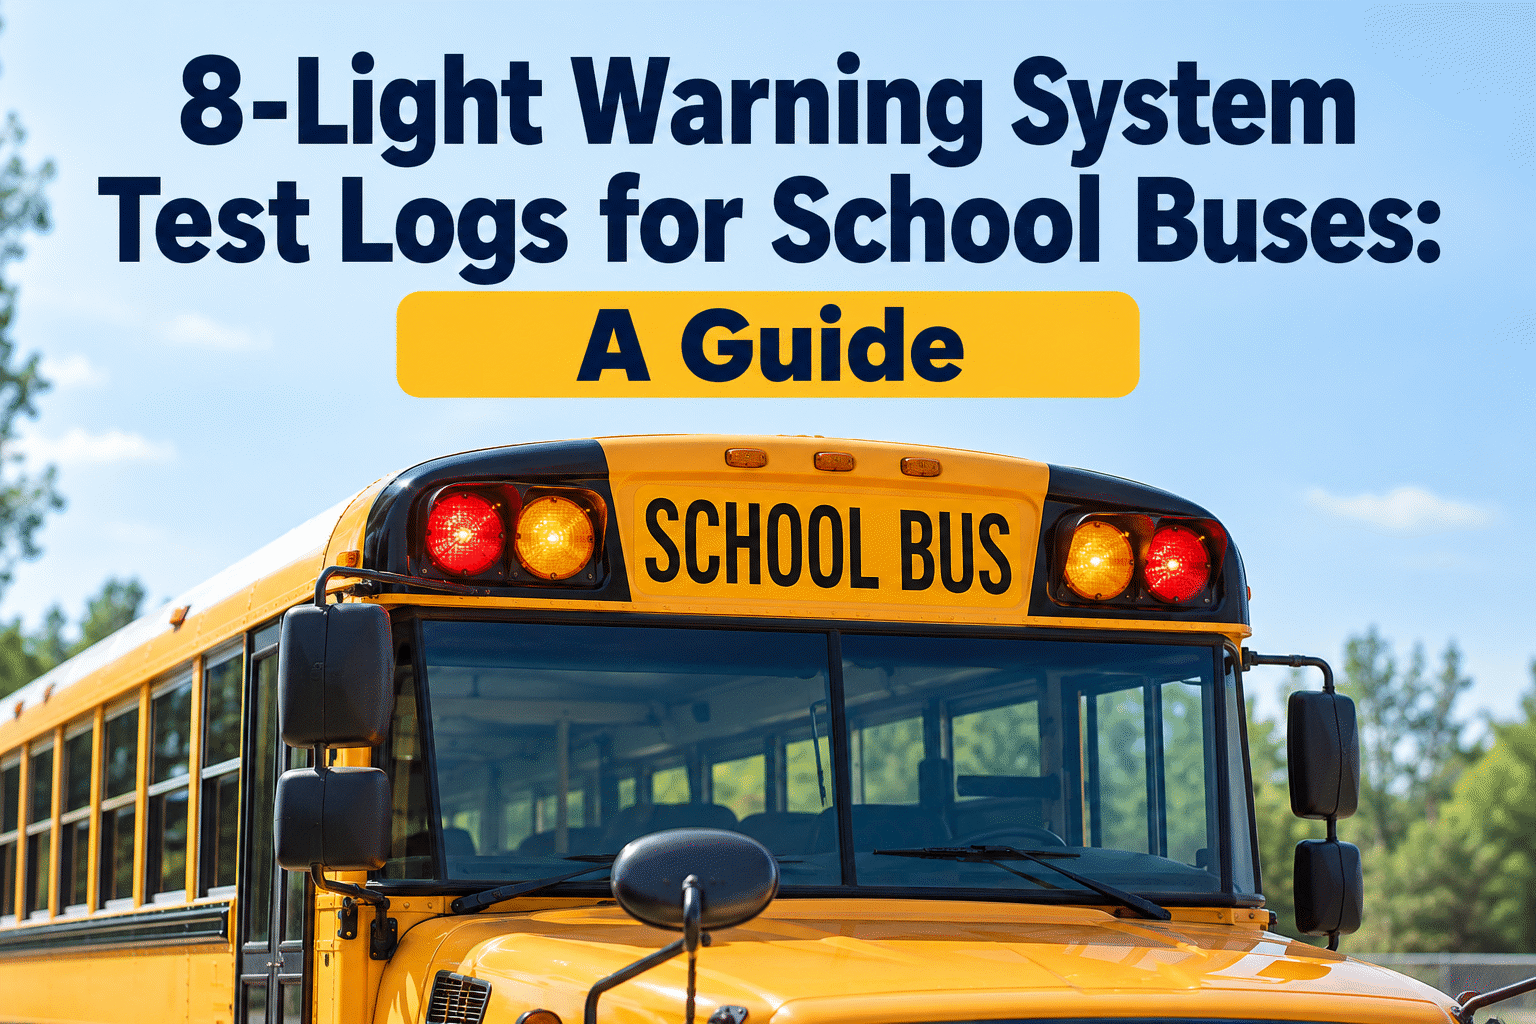
8-Light Warning System Test Logs for School Buses: A Guide
Know what to test, which lamp failed, and whether the amber-to-red sequence passed. Build a clear record from the driver's first check through the mechanic's final retest.
4 amber lamps warn of an approaching stop 4 red lamps signal a loading or unloading stop
How the School Bus 8 Light Warning System Should Be Tested
An eight-light system has two groups of warning lamps: four amber and four red, split between the front and rear of the bus. On an eight-lamp system, the amber warning lamps are manually activated as the bus approaches a stop. Opening the service door automatically ends the amber phase and activates the red phase. The actual operating sequence must be checked against the bus manufacturer's instructions and the applicable state rules.
Amber warning phase
Activate the amber system. Confirm the correct alternating pattern is visible at both ends, with no dark, dim, or erratic lamp.
Red loading phase
Open the service door as directed by the test procedure. Amber lamps should stop and red lamps should flash in the correct pattern.
Return to normal
Complete the manufacturer's reset sequence and verify that the warning lamps extinguish when the system is no longer commanded on.
The test should cover the stop arm's coordinated operation where fitted, but do not treat the stop arm and eight-lamp system as the same inspection item. If your district is moving from a single paper checkbox to individual light-test fields, book a demo to see bus-specific digital inspection forms.
A School Bus Warning Light Inspection Log That Explains the Fault
A useful log identifies the bus, the test, the exact lamp or sequence involved, the inspector, and the disposition. It should be possible for a mechanic to act on the report without calling the driver to ask which light failed.
Bus #214 • Morning pre-trip
Oct 12, 2026 • 6:20 a.m. • Driver: J. MillerThe example above is fictional, not a screenshot of a live customer account. BusCMMS can connect bus-specific digital inspection findings with maintenance work orders and service history. To try this workflow for your own fleet, sign up for free digital bus inspections.
From Failed 8-Light Warning System Test to Verified Repair
A failure is not resolved when someone writes “fixed” on a work order. It is resolved when the correct repair is documented and the system passes a functional retest. This is where a connected inspection and maintenance history becomes useful.
Driver flags defect
Record lamp location, color, symptom, bus number, time, and available photo.
Shop receives work
Create or link a work order so the fault has an owner and a repair history.
Technician repairs
Inspect the lamp, connectors, flasher controls, wiring, and interlocks as appropriate.
Retest and release
Verify amber, red, transition, and reset operation; document the authorized return to service.
A recurring rear amber failure may indicate a connector or wiring issue rather than repeated bulb failure. With a searchable defect history, the supervisor can see repeat patterns and decide whether the fleet needs a broader inspection. Book a demo to see defect-to-work-order tracking for school bus safety equipment.
Common Warning-Light Faults and What to Record
A useful defect description separates what the driver observed from what the technician later diagnosed. Drivers should not be expected to diagnose wiring or electronic controls during a pre-trip.
| Observed problem | Record in inspection | Shop follow-up |
|---|---|---|
| One lamp stays dark | Front/rear, left/right, amber/red | Check lamp, connection, and circuit |
| Amber lamps fail to activate | Switch response and affected lamps | Check activation switch and controls |
| Red phase does not start | Door position and transition behavior | Check door interlock and controller |
| Wrong or irregular flash pattern | Which lamps flash together or stop | Inspect flasher/controller and wiring |
| Lights remain on after reset | Door, switch, and reset condition | Check control logic and interlocks |
For recurring faults, attach the original driver observation, technician notes, parts used, and the completed retest. A BusCMMS demo for school bus warning-light maintenance can show how those records stay associated with the correct bus.
Build an 8-Light Warning System Inspection Routine That Holds Up
Test before student service
Use the district's approved pre-trip procedure, including observation from safe positions around the vehicle. Never assume an indicator on the dashboard proves all exterior lamps work.
Make failures specific
Record the location, color, flash behavior, and circumstances. A note such as “lights bad” delays troubleshooting and makes trends harder to identify.
Preserve the full trail
Keep the original inspection, corrective work order, parts or repair notes, retest result, and release decision together for district review.
FMVSS No. 108 addresses school bus signal-lamp equipment, including the eight-lamp arrangement and its door-triggered transition. State requirements, manufacturer procedures, and district policies determine additional operational checks and service decisions. Avoid treating one state's distance-to-stop rule or out-of-service classification as universal. If you want an organized place to maintain those local checklists, start free with BusCMMS inspection records.
School Bus 8 Light Warning System: Key Takeaways
A dependable school bus 8 light warning system test log gives your team a practical answer to three questions: what was tested, what failed, and who verified the correction? BusCMMS helps districts organize bus-specific inspections and the maintenance actions that follow.
8-Light Warning System Inspection FAQs
What is an eight-light warning system on a school bus?
It is a school bus signal-lamp system with four amber and four red warning lamps mounted across the front and rear. Amber lamps signal an approaching stop; red lamps signal the loading or unloading phase. The precise operating procedure follows the vehicle and applicable state rules.
How do you test the amber-to-red warning-light sequence?
Follow the manufacturer's and district's safe test procedure. Activate amber warning lamps, observe the front and rear alternating pattern, open the service door to check that amber lamps stop and red lamps activate, then verify the proper reset. Record each failed lamp or sequence separately.
What should a school bus warning-light inspection log contain?
Include bus identification, date and time, inspector, amber and red lamp test results, changeover and reset behavior, defect location and description, linked repair action, retest outcome, and authorized release decision.
Can a school bus run with a warning-light defect?
Do not assume it can. A warning-system failure requires evaluation under the applicable state school bus rules, district procedures, and vehicle requirements. The transportation or maintenance authority should determine service status and document corrective action before release.
How does BusCMMS help manage eight-light inspection failures?
BusCMMS supports bus-specific digital inspections, defect reporting, maintenance work orders, and inspection history. Those capabilities help a district connect a warning-light failure to repair and retest documentation. Confirm any required custom inspection fields during setup.