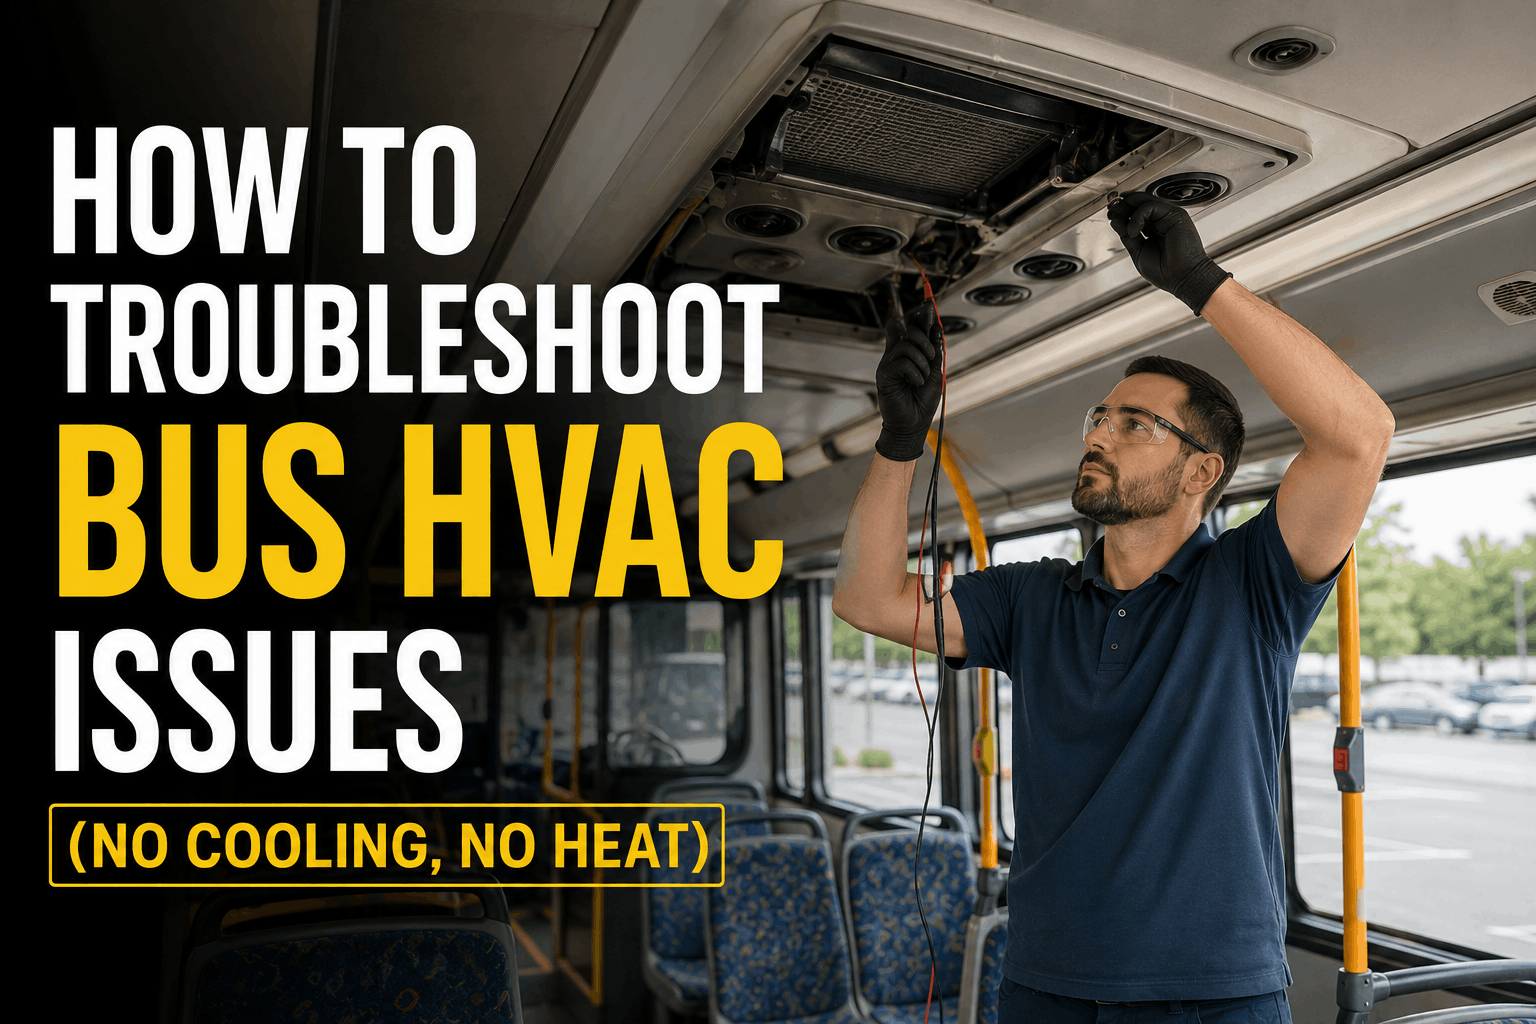
Bus HVAC failures are among the most common and most disruptive breakdowns in fleet operations—a bus with no cooling on a 95°F day is a bus that cannot carry passengers. A bus with no heat in winter creates unsafe conditions for drivers and passengers. Yet most HVAC issues follow predictable patterns: refrigerant leaks, compressor failures, blower motor problems, and electrical faults. This guide walks through the six most common bus HVAC issues—no cooling, no heat, weak airflow, water leaks, blower failures, and compressor problems—with diagnostic flowcharts and step-by-step troubleshooting procedures.
HVAC Diagnostics Guide 2026
How to Troubleshoot Bus HVAC Issues (No Cooling, No Heat)
Troubleshoot bus HVAC issues fast. No cooling, no heat, weak airflow, water leaks, blower failures and compressor problems — diagnosis flowcharts inside.
HVAC Failure Rates: What the Data Shows
Understanding which HVAC components fail most often helps focus diagnostic efforts and preventive maintenance. Data from fleet HVAC repair records reveals clear patterns:
Compressor failures account for 32% of HVAC issues, followed by refrigerant leaks at 24%. Blower motor failures make up 16%, and electrical faults at 14%. This means over 85% of HVAC problems are in these four categories—a focused diagnostic approach can resolve most issues quickly.
Diagnostic Progress: Step-by-Step HVAC Troubleshooting
1
Verify Power and Controls
Check HVAC fuse, relay, and control panel function before diagnosing mechanical components.
2
Check Refrigerant Pressure
Connect manifold gauge set. Low pressure indicates leak. High pressure indicates restriction or overcharge.
3
Test Compressor Operation
Check clutch engagement and compressor noise. Compressor should cycle with AC demand.
4
Inspect Blower Motor
Check all fan speeds. Weak airflow indicates blower motor or resistor failure.
5
Verify Vent Temperature
Target vent temperature: 40-50°F for AC, 85-90°F for heat. Document readings.
Common HVAC Issues: Diagnosis and Repair
1. No Cooling
Symptoms: AC blows warm air, vent temp above 60°F.
Diagnosis: Check refrigerant pressure. Low pressure = leak. No pressure = empty system.
Common Causes: Refrigerant leak, compressor failure, failed clutch, electrical issue.
Fix: Repair leak. Recharge system. Replace compressor if seized.
2. No Heat
Symptoms: Heater blows cold air, vent temp below 70°F.
Diagnosis: Check coolant level. Feel heater hoses—both should be hot.
Common Causes: Low coolant, stuck thermostat, heater core blockage, failed blend door.
Fix: Fill coolant. Replace thermostat. Flush heater core. Repair blend door.
3. Weak Airflow
Symptoms: Air barely comes out of vents, low fan speed.
Diagnosis: Check cabin filter. Test blower motor at all speeds. Check duct blockages.
Common Causes: Clogged cabin filter, failing blower motor, blocked ducts.
Fix: Replace cabin filter. Replace blower motor. Clear duct obstructions.
4. Water Leaks in Cabin
Symptoms: Water dripping from vents, wet floor, fogged windows.
Diagnosis: Check evaporator drain line. Inspect for clogged or disconnected drain.
Common Causes: Clogged drain line, disconnected drain, failed evaporator seal.
Fix: Clear drain line. Reconnect drain. Replace evaporator seal.
5. Blower Motor Failure
Symptoms: No air from vents, unusual noise, only works on some speeds.
Diagnosis: Check fuse and relay. Test blower motor with 12V direct. Check resistor.
Common Causes: Failed motor, failed resistor, burnt connections.
Fix: Replace blower motor. Replace resistor. Repair wiring.
6. Compressor Issues
Symptoms: Compressor noisy, won't engage, cycling too frequently.
Diagnosis: Check clutch engagement. Test pressure. Listen for unusual noise.
Common Causes: Failed clutch, seized compressor, low refrigerant, electrical fault.
Fix: Replace clutch or compressor. Repair electrical issue. Recharge system.
Refrigerant Pressure Diagnostic Guide
Normal Pressures
High side: 200-250 PSI
Low side: 25-35 PSI
Vent temp: 40-50°F
Low Refrigerant
High side: Below 180 PSI
Low side: Below 20 PSI
Vent temp: Above 55°F
Diagnosis: Leak in system. Repair leak, evacuate, recharge.
High Refrigerant
High side: Above 300 PSI
Low side: Above 45 PSI
Vent temp: Above 50°F
Diagnosis: Overcharge or restriction. Recover excess refrigerant. Inspect for blockage.
Compressor Failure
High side: Equal to low side
Low side: Equal to high side
Vent temp: Ambient temp
Diagnosis: Compressor not pumping. Replace compressor. Check for debris in system.
We implemented this HVAC diagnostic guide across our 85-bus fleet. In the first year, our average HVAC diagnosis time dropped from 2.5 hours to 45 minutes. We reduced unnecessary compressor replacements by 40% because we identified refrigerant leaks and electrical faults that were causing the issues. The step-by-step process helped our technicians systematically diagnose HVAC faults instead of guessing and replacing parts.
Digitize Your HVAC Inspection Process
BusCMMS guides technicians through every HVAC inspection point—refrigerant pressure testing, compressor operation, blower motor function, vent temperature verification, and leak detection. Auto-schedule HVAC PM intervals based on mileage. Complete audit trail for every HVAC component in your fleet.
Bus HVAC Troubleshooting FAQs
What is the normal refrigerant pressure for a bus AC system?
Normal operating pressures depend on ambient temperature and bus model specifications. Typical range: High-side 200-250 PSI, Low-side 25-35 PSI at engine idle with AC at full cold. Readings below 180 PSI (high-side) or above 40 PSI (low-side) indicate charging issue or system blockage requiring technician service.
Why is my bus AC blowing warm air?
Warm air from AC is most commonly caused by: low refrigerant (leak), compressor failure (not engaging or seized), electrical fault (fuse or relay), or clogged condenser. Start by checking refrigerant pressure. If pressure is low, leak test the system. If pressure is normal, check compressor clutch engagement.
What causes weak airflow from bus vents?
Weak airflow is typically caused by: clogged cabin air filter, failing blower motor, blocked ductwork, or failed blower motor resistor. Check the cabin filter first—it's the most common cause. If filter is clean, test blower motor speeds. Weak airflow on all speeds indicates blower motor failure.
How do I test a bus AC compressor?
Test compressor function by: checking clutch engagement (should engage within 0.5 seconds of AC activation), listening for unusual noise (grinding or squealing), measuring pressure differential (should be at least 50 PSI difference between high and low sides), and checking clutch voltage (should be 12V/24V when engaged). Compressor should cycle with AC demand.
Why is my bus heater not working?
Heater failure is most commonly caused by: low coolant level, stuck thermostat, blocked heater core, or failed blend door. Start by checking coolant level—low coolant is the most common cause. If coolant is full, feel heater hoses—both should be hot. Cold one hose indicates heater core blockage.
Can BusCMMS track HVAC inspection history?
Yes. BusCMMS tracks refrigerant pressure readings, compressor operation tests, blower motor function, vent temperature measurements, leak test results, and repair records. This creates a complete HVAC history for each bus, helping identify wear patterns and predict maintenance needs before component failure occurs.
The Bottom Line
Troubleshooting bus HVAC issues does not have to be time-consuming or frustrating. Most HVAC faults follow predictable patterns: compressor failures, refrigerant leaks, blower motor issues, and electrical faults account for over 85% of HVAC problems. A systematic diagnostic approach—starting with power and controls, then refrigerant pressure, then compressor operation, then blower motor, then vent temperature—resolves most HVAC issues quickly. This guide provides the step-by-step procedures your technicians need to diagnose and repair common bus HVAC faults. When combined with BusCMMS digital inspection forms, auto-scheduled PM intervals, and complete HVAC history tracking, your HVAC maintenance program becomes proactive—catching issues before they cause breakdowns or passenger discomfort.