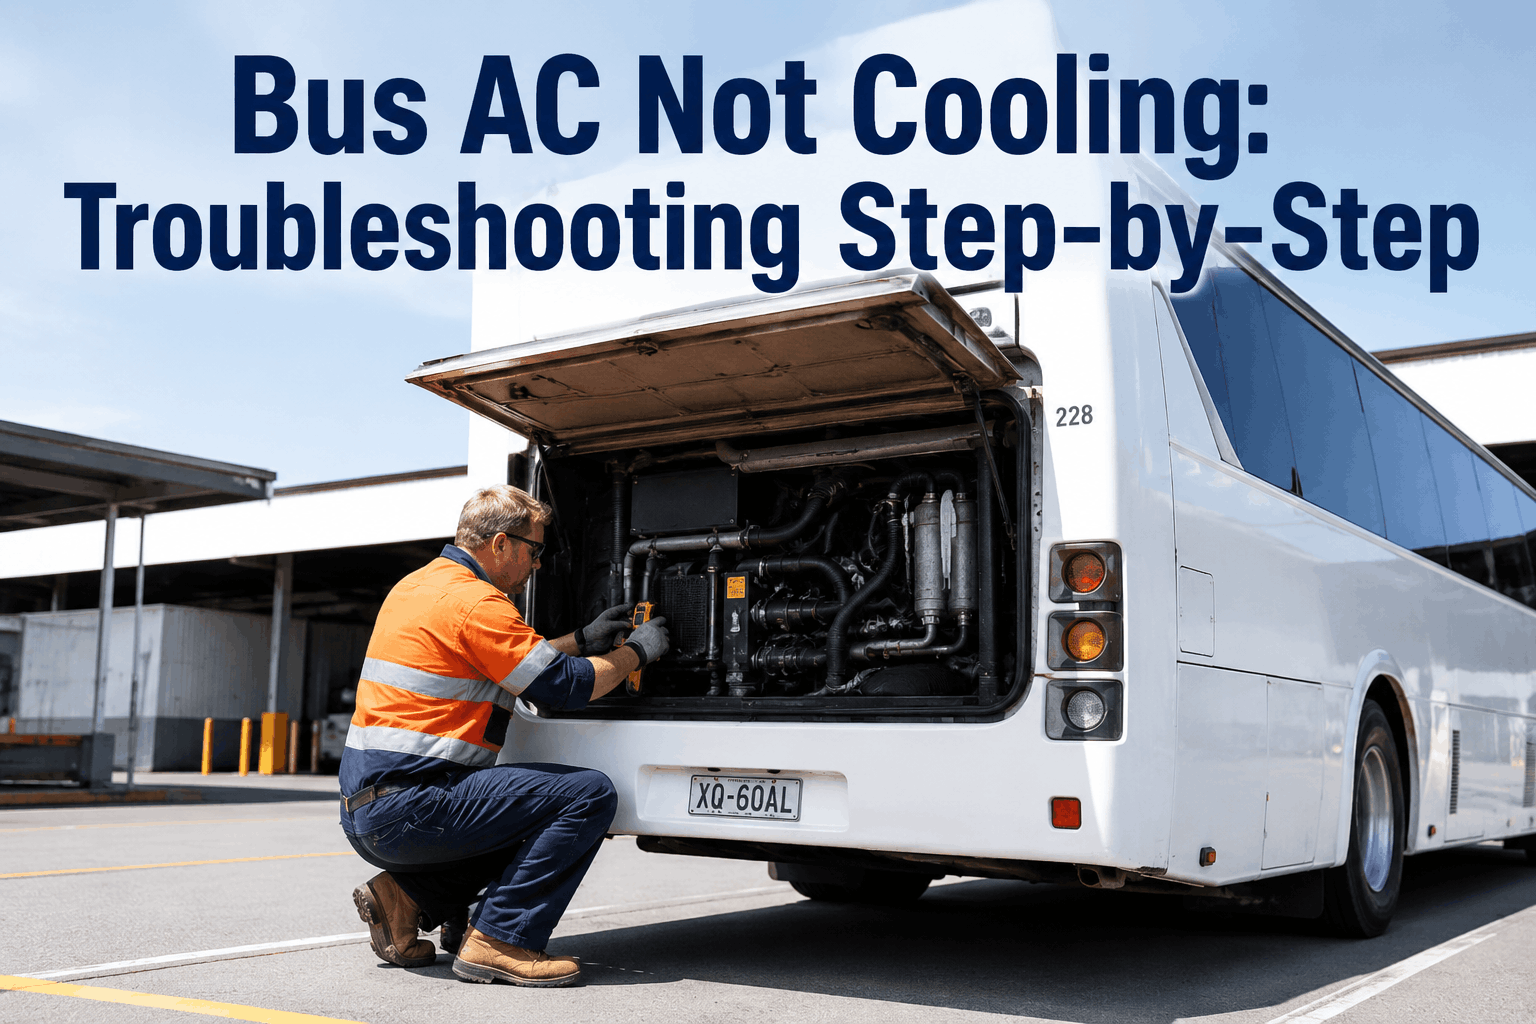
A bus AC system that's not cooling can make summer travel unbearable for passengers and drivers. Whether it's a school bus full of students or a charter coach on a long trip, a non-functional AC system is a comfort and productivity issue. This guide provides a step-by-step troubleshooting flowchart covering the most common causes—refrigerant level, compressor clutch, condenser airflow, blend door, and expansion valve—with practical diagnostic steps to restore cooling quickly.
Bus AC Troubleshooting Guide 2026
Bus AC Not Cooling: Troubleshooting Step-by-Step
Bus AC not cooling? Step-by-step troubleshooting flowchart — refrigerant level, compressor clutch, condenser airflow, blend door, expansion valve.
Bus AC System Impact: The Cost of No Cooling
Passenger comfort is essential for customer satisfaction and driver performance. A bus AC that's not cooling can lead to passenger complaints, driver fatigue, and even health issues in extreme heat. Quick diagnosis and repair keep your fleet comfortable and reliable.
10-15°F
Expected temperature drop
15-30 min
Average diagnostic time
$200-$800
Typical repair cost
65%
Issues related to refrigerant
AC Not Cooling Diagnostic Flowchart
Step 1: Check Airflow
Is blower working? Check fan speed. Weak airflow indicates blower motor or filter issues.
Step 2: Check Compressor
Is compressor clutch engaging? If not, check refrigerant level and pressure switch. Recharge if low.
Step 3: Test Refrigerant Pressure
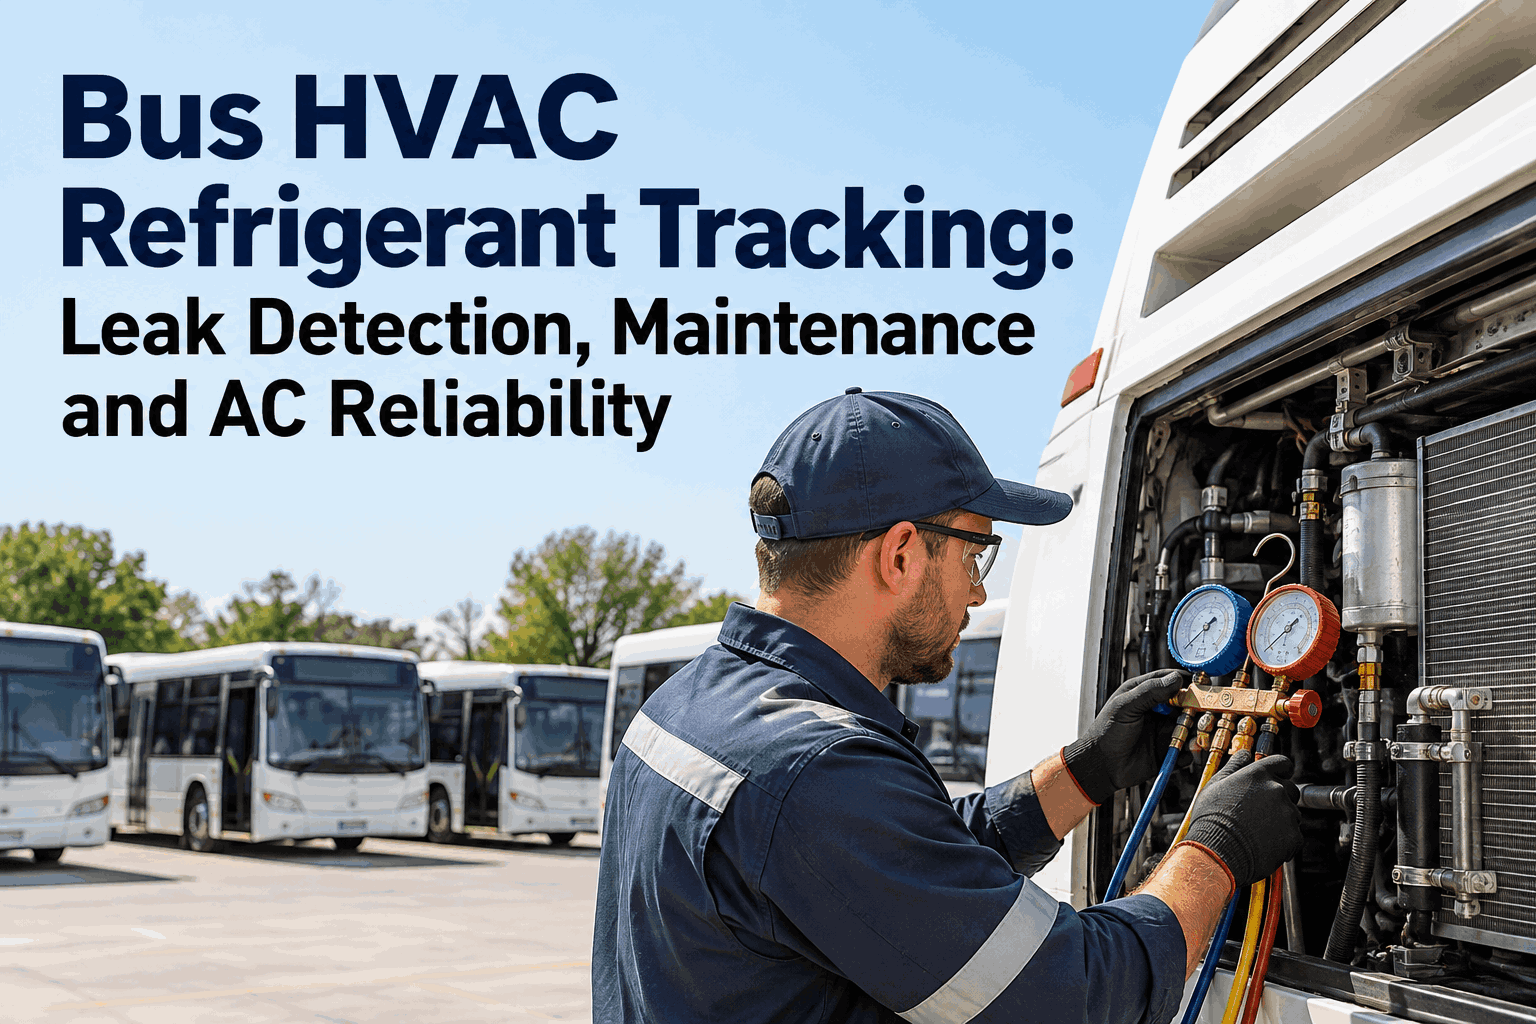
Connect manifold gauge set. Check low and high side pressures. Compare to ambient temp chart.
Step 4: Check Condenser
Is condenser clean and fans running? Dirty condenser reduces cooling. Clean and check fan operation.
Step 5: Check Blend Door
Is blend door functioning? If stuck on heat, AC won't cool. Check actuator and door operation.
Step 6: Check Expansion Valve
Restricted expansion valve causes poor cooling. Check temperature differential. Replace if stuck.
Step 7: Success
AC cooling restored! Document diagnosis and repair for future reference.
Top 6 Causes of Bus AC Not Cooling
1. Low Refrigerant
Frequency: 35% of AC issues. Leak or undercharged system. Check pressures. Find and repair leak. Recharge.
2. Compressor Clutch Failure
Frequency: 20% of AC issues. Clutch not engaging. Check power, ground, and clutch gap. Replace clutch or compressor.
3. Condenser Airflow Restriction
Frequency: 15% of AC issues. Dirty condenser or failed fan. Clean condenser. Replace fan motor if failed.
4. Blend Door Malfunction
Frequency: 12% of AC issues. Blend door stuck on heat. Check actuator. Replace or repair door.
5. Expansion Valve Failure
Frequency: 10% of AC issues. Valve stuck closed or restricted. Replace expansion valve. Recharge system.
6. Blower Motor Issues
Frequency: 8% of AC issues. Weak or failed blower motor. Check voltage. Replace blower motor.
AC Not Cooling Causes Distribution
Low refrigerant is the #1 cause at 35%, followed by compressor clutch failure at 20%. Condenser airflow restriction accounts for 15%. Together, these three causes represent 70% of all AC not cooling failures. Blend door, expansion valve, and blower motor issues make up the remaining 30%.
Repair Cost by Cause
Condenser cleaning averages $50. System recharge averages $120. Blower motor replacement averages $180. Expansion valve replacement averages $250. Compressor clutch replacement averages $350. Compressor replacement is the most expensive at $650 average.
AC PM Effectiveness Trends
AC PM compliance and cooling failure trends show inverse correlation. As PM compliance improves from 55% to 95% over seven years, cooling failures decrease from 40% to 7%. Regular refrigerant checks, condenser cleaning, and compressor inspection prevent most AC issues.
AC Not Cooling Quick Reference
Refrigerant Check
Connect manifold gauges. Low pressure indicates leak or undercharge. Find leak with UV dye. Recharge to spec.
Compressor Test
Check clutch engagement. Test power and ground. Check clutch gap. Replace clutch if worn or compressor if seized.
Condenser Inspection
Check for debris on fins. Ensure condenser fans are running. Clean with compressed air or water.
Blend Door Check
Verify blend door actuator operation. Check for sticking door. Replace actuator or repair door.
Expansion Valve Test
Check temperature differential across valve. If restricted, replace expansion valve and recharge system.
Quick Fix Decision
If compressor not engaging: check refrigerant first. If condenser dirty: clean it. If airflow weak: check blower.
AC Diagnostic KPIs
Track these five metrics to measure your AC diagnostic program effectiveness:
No Cooling Complaints
Target: Decreasing trend per 100,000 miles. Track monthly. Spike indicates PM gaps.
Diagnostic Time
Target: Under 20 minutes average. Track by cause. Longer times indicate training gaps.
Refrigerant Recharge Rate
Target: Monitor frequency. High rate indicates system leaks needing repair.
AC PM Compliance
Target: 100% at every PM. Track by bus. Missed PMs cause refrigerant loss and compressor failure.
Compressor Replacement Rate
Target: Decreasing trend. Track monthly. High rate indicates refrigerant issues or poor PM.
Our fleet of 95 buses implemented this AC diagnostic workflow. In the first year, no cooling complaints decreased by 60%. Average diagnostic time dropped from 32 to 16 minutes. Refrigerant recharge frequency decreased by 45% with leak detection. AC PM compliance improved from 58% to 94%.
Digitize Your Bus AC Diagnostic Program
BusCMMS guides technicians through every AC diagnosis—airflow verification, compressor testing, refrigerant pressure measurement, condenser inspection, blend door check, and expansion valve testing. Track cooling complaints, diagnostic time, and PM compliance. Auto-schedule AC PM to prevent cooling failures before passengers complain.
Bus AC Not Cooling FAQs
What should I check first when bus AC isn't cooling?
Start with the basics: check the blower fan speed and airflow. If airflow is weak, check the blower motor and cabin filter. Next, check if the compressor clutch is engaging when AC is turned on. If not, suspect low refrigerant or a failed pressure switch.
How do I know if my bus AC is low on refrigerant?
Low refrigerant symptoms include: compressor clutch not engaging, warm air from vents, and frost on the accumulator or lines. Connect manifold gauges to confirm low pressure. Check for system leaks with UV dye.
Why does the AC compressor clutch not engage?
Common causes include low refrigerant (pressure switch), blown fuse, failed relay, bad wiring, or a failed clutch coil. Check refrigerant pressure first, then electrical power and ground to the compressor.
How do I test a bus AC expansion valve?
Check the temperature differential between the inlet and outlet of the evaporator. A restricted expansion valve will show warm outlet temperatures. Connect manifold gauges and look for low suction pressure with high superheat.
How often should bus AC systems be serviced?
AC systems should be inspected at every PM service and serviced annually. This includes checking refrigerant levels, inspecting the compressor, cleaning the condenser, and checking all electrical connections. Seasonal pre-summer inspection is recommended.
Can BusCMMS track AC diagnostics?
Yes. BusCMMS tracks all AC diagnostics, refrigerant pressures, compressor tests, condenser inspections, and repairs. The system generates diagnostic checklists, captures pressure readings, and creates complete records for every AC service in your fleet.
The Bottom Line
A bus AC system that's not cooling can make summer operations miserable for passengers and drivers. Understanding the top 6 causes—low refrigerant (35%), compressor clutch failure (20%), condenser airflow restriction (15%), blend door malfunction (12%), expansion valve failure (10%), and blower motor issues (8%)—helps technicians diagnose problems fast and make smart repair decisions. The diagnostic flowchart provides a systematic approach: check airflow, test the compressor, measure refrigerant pressures, inspect the condenser, verify the blend door, and test the expansion valve. Most diagnoses can be completed in under 20 minutes with the right tools. Regular AC PM—refrigerant checks, condenser cleaning, and compressor inspection—prevents most cooling failures before they occur. When combined with BusCMMS diagnostic checklists, pressure reading tracking, and repair documentation, your maintenance team becomes proactive—catching AC issues before they leave passengers sweating or drivers uncomfortable.