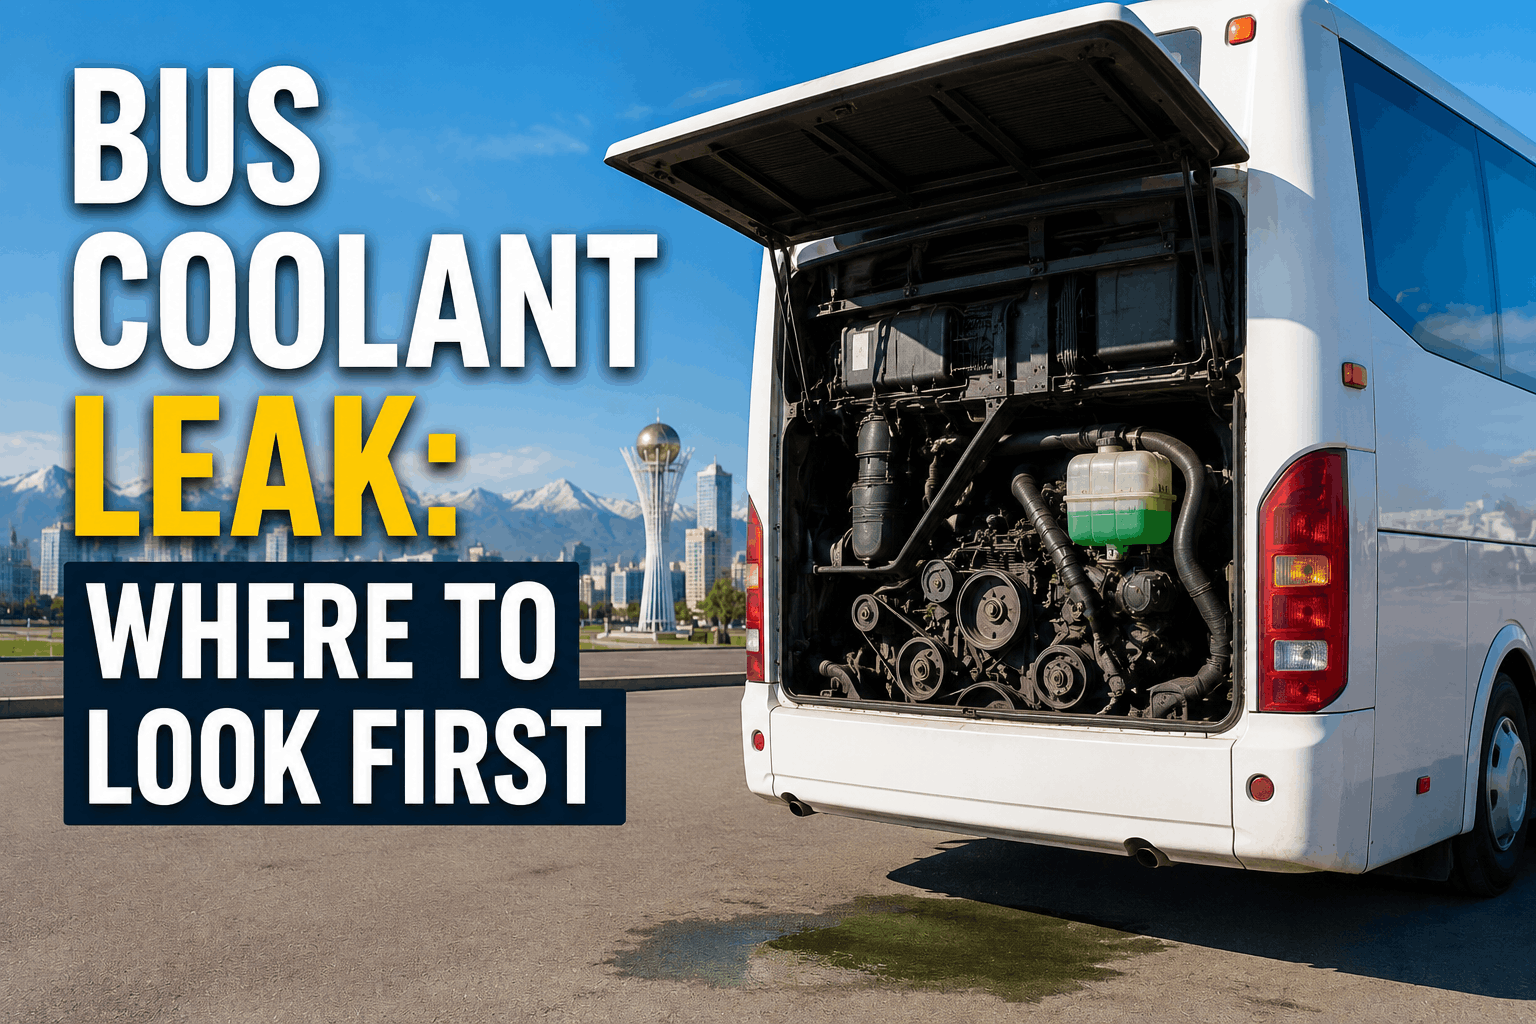
A bus coolant leak can quickly lead to engine overheating and costly damage if not addressed promptly. Coolant loss has many potential sources—from simple hose leaks to serious head gasket failures. This guide helps you identify where to look first based on symptoms, with a diagnostic approach covering radiator, hoses, water pump, head gasket, EGR cooler, expansion tank, and heater core.
Coolant Leak Diagnostic Guide 2026
Bus Coolant Leak: Where to Look First
Bus coolant leak diagnostic. Where to look first by symptom — radiator, hoses, water pump, head gasket, EGR cooler, expansion tank, heater core.
Coolant Leak Impact: The Cost of Overheating
A coolant leak can cause rapid engine overheating, leading to head gasket failure, cylinder damage, or complete engine failure. Repair costs can range from hundreds to tens of thousands of dollars. Quick diagnosis is essential to prevent catastrophic engine damage.
$500-$10,000+
Engine damage from overheating
10-20 min
Average diagnostic time
60%
Leaks found in hoses/radiator
85%
Preventable with regular PM
Coolant Leak Diagnostic Flowchart
Step 1: Check Coolant Level
Check expansion tank and radiator. If low, inspect for visible leaks. Top up and monitor.
Step 2: Look for Visible Leaks
Inspect radiator, hoses, and water pump for drips or residue. Use a pressure tester to find hidden leaks.
Step 3: Check Hoses
Inspect all coolant hoses for cracks, swelling, or soft spots. Squeeze to test firmness. Replace as needed.
Step 4: Check Water Pump
Look for coolant at the weep hole. Check for play in the pulley. Replace water pump if leaking.
Step 5: Check EGR Cooler
Inspect EGR cooler for leaks. Check for coolant in exhaust or excessive white smoke. Replace if needed.
Step 6: Check Head Gasket
Check for coolant in oil (milky residue) or bubbles in expansion tank. Perform combustion gas test.
Step 7: Success
Coolant leak resolved! Document diagnosis and repair for future reference.
Top 7 Sources of Bus Coolant Leaks
1. Radiator
Frequency: 25% of coolant leaks. Cracks or damage from debris, corrosion, or age. Pressure test to confirm.
2. Hoses
Frequency: 22% of coolant leaks. Cracked, swollen, or loose hoses. Inspect all coolant hoses. Replace as needed.
3. Water Pump
Frequency: 18% of coolant leaks. Leaking weep hole or failed seal. Replace water pump and gasket.
4. EGR Cooler
Frequency: 12% of coolant leaks. Internal or external leak. Check for white smoke or coolant loss.
5. Expansion Tank
Frequency: 10% of coolant leaks. Cracks in plastic tank. Replace expansion tank.
6. Heater Core
Frequency: 8% of coolant leaks. Leak inside cabin or coolant smell. Replace heater core.
7. Head Gasket
Frequency: 5% of coolant leaks. Internal leak into cylinders or oil. Immediate attention required.
Coolant Leak Sources Distribution
Radiator issues are the #1 source at 25%, followed by hose failures at 22%. Water pump leaks account for 18%. Together, these three sources represent 65% of all coolant leak cases. EGR cooler, expansion tank, heater core, and head gasket make up the remaining 35%.
Repair Cost by Source
Hose replacement averages $80. Expansion tank replacement averages $150. Heater core replacement averages $250. Water pump replacement averages $350. Radiator replacement averages $550. Head gasket repair is the most expensive at $2,000 average.
Coolant Leak & PM Trends
Cooling system PM compliance and coolant leak trends show inverse correlation. As PM compliance improves from 60% to 95% over seven years, coolant leak incidents decrease from 35% to 8%. Regular hose inspections, coolant testing, and water pump checks prevent most coolant leak issues.
Where to Look by Symptom
Visible Puddle Under Bus
Check radiator, hoses, and water pump first. Look for drips from the lowest point. Use a pressure tester to find hidden leaks.
Coolant Smell Inside Cabin
Heater core leak. Check floor carpets for moisture. Sweet smell indicates coolant leak. Replace heater core.
White Smoke from Exhaust
EGR cooler or head gasket leak. Check coolant level. Perform combustion gas test. Inspect EGR cooler.
Coolant in Oil
Head gasket failure. Milky oil residue on dipstick. Stop engine immediately. Head gasket replacement required.
Loss of Coolant with No Visible Leak
Internal leak (EGR cooler or head gasket) or heater core leak. Pressure test and inspect all components.
Overheating with Coolant Loss
Major leak or head gasket failure. Check all components. Do not drive. Tow to repair facility.
Coolant Leak Diagnostic KPIs
Track these five metrics to measure your coolant leak diagnostic program effectiveness:
Coolant Leak Incidents
Target: Decreasing trend per 100,000 miles. Track monthly. Spike indicates PM gaps.
Diagnostic Time
Target: Under 15 minutes average. Track by source. Longer times indicate training gaps.
Coolant PM Compliance
Target: 100% at every interval. Track by bus. Missed PM causes leaks and overheating.
Hose Inspection Rate
Target: 100% at every PM. Track by bus. Missed inspection leads to catastrophic failure.
Overheating Incidents
Target: Zero preventable incidents. Track monthly. Spike indicates cooling system issues.
Our fleet of 85 buses implemented this coolant leak diagnostic workflow. In the first year, coolant leak incidents decreased by 55%. Average diagnostic time dropped from 25 to 12 minutes. Hose inspection compliance improved from 65% to 97%. Overheating incidents from coolant loss decreased by 70%.
Digitize Your Coolant Leak Diagnostic Program
BusCMMS guides technicians through every coolant leak diagnosis—coolant level check, pressure testing, hose inspection, water pump inspection, EGR cooler testing, and head gasket verification. Track coolant leak incidents, diagnostic time, and PM compliance. Auto-schedule cooling system PM to prevent leaks before they cause overheating.
Bus Coolant Leak FAQs
Where should I look first for a bus coolant leak?
Start with visible inspections: radiator (front and sides), all coolant hoses (upper, lower, heater), and water pump (weep hole). Use a pressure tester to find hidden leaks. Look for white residue or puddles under the bus.
How do I pressure test a cooling system?
Use a cooling system pressure tester. Attach to the radiator or expansion tank. Pump to 15-20 psi (or manufacturer spec). Watch for pressure drop. Inspect all components for visible leaks while under pressure.
What does a water pump leak look like?
Look for coolant dripping from the weep hole on the bottom of the water pump. The weep hole is designed to leak when the internal seal fails. Also check for coolant residue on the pump body.
How do I check for a head gasket leak?
Check for coolant in oil (milky residue), bubbles in the expansion tank, white smoke from exhaust, and overheating. Use a combustion gas test kit to detect exhaust gases in the coolant. A head gasket leak is serious and requires immediate attention.
How often should coolant hoses be replaced?
Coolant hoses should be inspected at every PM and replaced every 4-5 years or when signs of deterioration appear. Look for cracking, swelling, or soft spots. A failed hose can cause rapid coolant loss and overheating.
Can BusCMMS track coolant leak diagnostics?
Yes. BusCMMS tracks all coolant leak diagnostics, pressure test results, hose inspections, water pump checks, and repairs. The system generates diagnostic checklists and creates complete records for every coolant leak service in your fleet.
The Bottom Line
A bus coolant leak can quickly escalate from a minor issue to catastrophic engine failure if not addressed promptly. Understanding the top 7 sources—radiator (25%), hoses (22%), water pump (18%), EGR cooler (12%), expansion tank (10%), heater core (8%), and head gasket (5%)—helps technicians diagnose problems fast and make smart repair decisions. The diagnostic flowchart provides a systematic approach: check coolant level, look for visible leaks, inspect hoses, check the water pump, test the EGR cooler, and verify the head gasket. Most diagnoses can be completed in under 15 minutes with a pressure tester. Regular cooling system PM—hose inspection, coolant testing, and water pump checks—prevents most coolant leaks before they cause overheating and engine damage. When combined with BusCMMS diagnostic checklists and repair documentation, your maintenance team becomes proactive—catching coolant leaks before they leave your bus stranded or cause expensive engine failure.