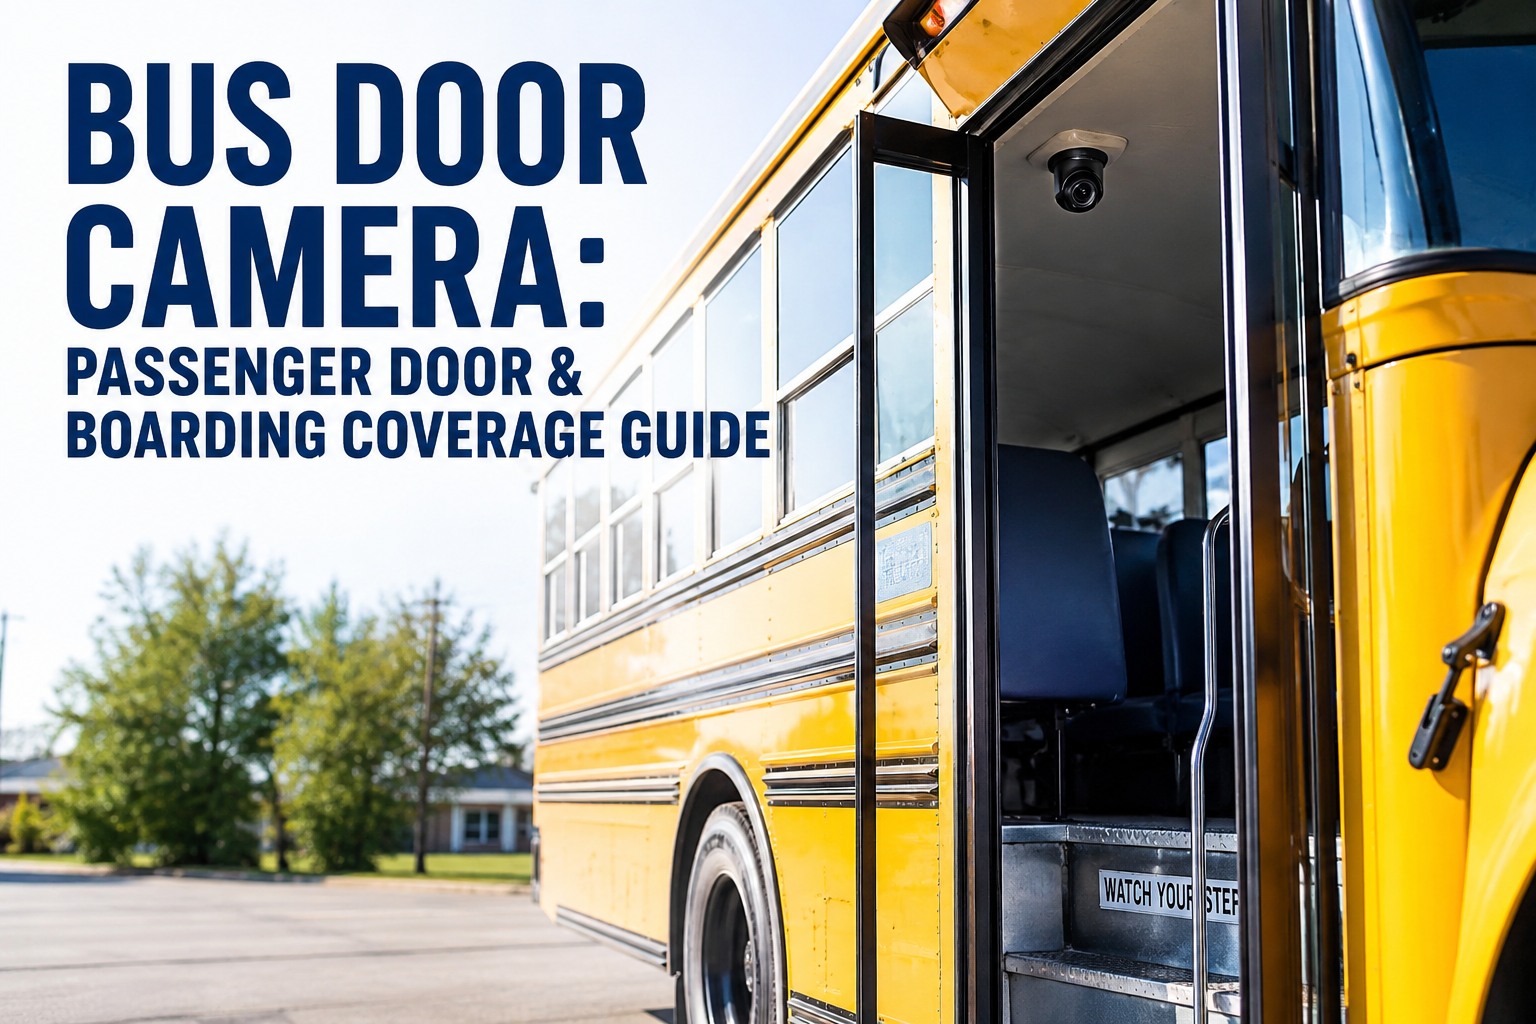
Most incidents involving school bus passengers happen within 10 feet of the bus — and specifically at the passenger door zone during boarding and alighting. The right passenger door camera captures the 4 sub-zones a single lens must cover: approach steps, first stair, top platform, and the driver-side grab area. This 2026 guide covers door-zone camera coverage sub-zones, the specification table for FOV and resolution decisions, common placement failure modes, and how event-linked video ties door sensor events directly to clip retrieval without a rip-and-replace hardware refresh. See BusCMMS ingest door events from your existing MDVR and camera stack → book a 20-min demo.
Bus Door Camera: Passenger Door & Boarding Coverage
The passenger door isn't a single camera zone. It's 4 sub-zones that a single lens has to cover well enough to be useful as evidence when something happens.
The 4 Door Sub-Zones a Single Camera Must Cover
A properly placed passenger door camera has to hold coverage across 4 distinct sub-zones with different image priorities. Missing any one of them creates evidence gaps at the exact moments incidents happen.
Camera position is the single biggest driver of usable evidence. The passenger door area contains 4 sub-zones that behave differently: some need wide field of view (approach steps), some need clarity on faces (top platform), some need to record fine motor action (grab handle at slip-and-fall moments), and some need to catch what's happening outside the bus (approach path). A single 2.1mm super-wide-angle lens positioned above the top step covers all 4 reasonably well — when installed correctly. When installed wrong, it captures the ceiling and the driver's shoulder.
Approach Steps & Outside Landing
First Stair Transition
Grab Handle & Doorframe
Top Platform & Driver Interaction
All 4 sub-zones covered by one well-placed 2.1mm camera is the baseline. Two cameras (one door-external, one door-internal) is the higher-spec approach for districts running special needs or high-incident routes. See BusCMMS pull door-zone clips per bus per event → book a demo.
The Bus Door Camera Specification Table
Eight spec dimensions determine whether a passenger door camera actually captures usable evidence. Recommended and minimum values for typical school bus applications.
A camera spec sheet reads like a list of numbers until you're standing next to a bus in a February pre-dawn parking lot trying to make sense of grainy footage from a slip-and-fall incident. The 8 dimensions below are the ones that actually matter for door-zone evidence. Recommended values reflect what districts running mature camera programs typically deploy. Minimum values are where cost-optimized deployments land — still functional but with narrower margins for error. Vendor-specific specifications (not universal mounting dimensions) should be verified against actual bus body type (Type A, B, C, or D) before finalizing purchase.
Recommended-column deployments produce evidence usable in insurance claims, parent disputes, and CSA-driver-observed inspections. Minimum-column deployments meet ordinance but often leave evidence gaps. Sign up free and manage camera-event workflows per bus →
Placement Failure Modes: 3 Common Mistakes
The right camera in the wrong position captures nothing useful. These 3 placement failures show up repeatedly in fleets that installed for wire-run convenience rather than field-of-view effectiveness.
The most common installation failure isn't hardware — it's placement. Cameras get positioned where the wire run is easiest, the ceiling framing is convenient, or where an installer decided it "looked good" during a quick shop visit. The 3 patterns below cause approximately 80% of the useless-footage complaints district transportation offices field after an incident. Each has a correct alternative that a proper pre-install FOV check would have caught.
The Ceiling-Central Mistake
Camera mounted on the passenger cabin ceiling centerline, 6-8 ft back from the door. Wire run easy through the roof channel. But at that distance and angle, the top platform is in the frame but the approach steps and first-stair transition are lost below the doorframe cut-off.
Camera mounted on the header directly above the door, angled forward and slightly down. All 4 sub-zones stay in frame including the outside approach path. Wire run harder but coverage is what pays back the extra install labor.
The Behind-Driver Mistake
Camera positioned behind the driver's seat aimed forward toward the door. Blocked periodically by the driver's shoulder, headrest, or coat. In practice, half the door-open events have the driver's body in the frame between the camera and the incident.
Camera positioned on the door-side header or opposite the driver seat aimed across. No body obstruction. Direct line of sight to door zone. Small offset angle keeps grab handle and doorframe both in frame.
The Sunlight-Glare Mistake
Camera aimed toward the open door with sun directly behind the door opening. Every AM route facing east produces silhouetted students against a blown-out background for the first 45 minutes of daylight. Faces unidentifiable during the highest-traffic boarding window.
Camera with wide dynamic range (WDR) capability and angled slightly downward to reduce sky brightness in the frame. Students in the doorway remain identifiable in early-morning direct sunlight conditions.
A 20-minute pre-install FOV check with a fleet supervisor observing from the driver seat and outside the bus prevents every one of these failure modes. Install cost is trivial compared to a single useless-footage incident. See BusCMMS validate camera coverage per bus at deployment → book a demo.
From Door Sensor to Work Order in 90 Seconds
The point of a door camera isn't the camera. It's the evidence chain from a door event to a defect classification to a maintenance work order that closes the loop.
Cameras that produce clips nobody watches produce zero operational value. What matters is the workflow from event to action. A door sensor firing an abnormal-close event should retrieve the associated video clip, present it to the maintenance reviewer, allow a defect classification, and generate a work order automatically — all before the shop foreman even walks over to the bus. Here's the hypothetical 5-stage workflow that turns door-camera hardware into operational evidence.
Door Sensor Fires Event
Passenger door on Bus #B-047 reports abnormal close force during PM route. Sensor timestamp captured. Bus ID, driver ID, and route ID tagged automatically.
Associated Video Clip Auto-Retrieved
MDVR system pulls the passenger-door camera clip covering 15 seconds before and 30 seconds after the sensor event. Clip queued to fleet system linked to the sensor event record.
Reviewer Opens Clip in Fleet Dashboard
Transportation supervisor sees event in the shift alert queue with clip preview. One-click open. Reviews the 45-second window. Sees door catching on a bent doorframe channel.
Defect Classified & Attached to Bus Record
Reviewer classifies the event as mechanical defect (not behavior/vandalism). "Passenger door channel deformation" logged against Bus #B-047 with clip attached as evidence.
Maintenance Work Order Auto-Generated
Priority work order created for Bus #B-047. Shop foreman receives notification with clip embedded. Repair scheduled for next available bay. Full chain preserved on bus asset timeline.
This is a hypothetical worked example. Actual event-to-work-order timing depends on MDVR configuration, network connectivity, and staff response. The workflow structure is what matters — and it works with existing camera hardware, not just rip-and-replace deployments. See BusCMMS event-linked video workflow with your MDVR → book a demo.
Where BusCMMS Fits Door Camera Workflows
Six capabilities specifically for districts that already have MDVR and camera hardware and don't want to rip it out to get event-linked video into maintenance workflows.
MDVR-Agnostic Event Ingestion
Ingests door sensor, hard-stop, panic, and door-camera events from major MDVR brands via API. No rip-and-replace of existing camera hardware required.
Sensor-to-Clip Auto-Association
Every door sensor event automatically linked to the passenger-door camera clip covering the surrounding time window. No manual timestamp reconciliation.
Shift Alert Review Queue
Transportation supervisor sees prioritized door-event queue by shift with clip previews. One-click open. Classification codes for defect vs behavior vs false-alarm.
Event-to-Defect-to-Work-Order Chain
Any event classified as mechanical defect auto-generates a priority work order for the correct bus with the clip embedded as evidence. Full chain preserved on bus asset timeline.
Controlled Camera Evidence Access
Role-based access to camera clips. Transportation supervisors, shop foremen, and legal see what they need. Student and passenger privacy protected via redaction and retention rules.
Unified Bus Asset Timeline
All door camera events, DVIR defects, sensor readings, maintenance work orders, and repair evidence on one timeline per bus. Ready for insurance claim, parent inquiry, or FMCSA audit.
We had MDVR and 6-camera systems on all 92 buses since 2019. Great cameras. Great video. Total operational disconnect from our maintenance workflow. Every incident meant a transportation supervisor manually pulling SD cards, scrubbing through 8 hours of footage to find the 20-second window that mattered, then emailing clips to the shop foreman who forwarded them to somebody who eventually typed a work order into the CMMS. Turnaround from event to repair scheduled averaged 4-5 days. In fall 2024 we deployed BusCMMS with the MDVR event bridge. Same cameras, same hardware. Now a door abnormal-close sensor event auto-pulls the clip, queues it in the review dashboard, gets classified, and generates the work order in under 3 minutes. We caught two bent-doorframe defects last month that we would have never surfaced through the old workflow — the sensor fired quietly, nothing broke visibly, drivers didn't report. Only the auto-workflow surfaced the pattern. Same hardware. Different operational value.
Related bus camera guides: explore full camera hardware coverage on BusCMMS, plus the driver qualification file guide and CVSA bus inspections guide.
Frequently Asked Questions
What is a bus door camera and why do fleets install one?
A bus door camera is an interior camera positioned to cover the passenger entrance area — specifically the approach steps, first stair transition, grab handle, and top platform where students board and alight. Fleets install passenger-door cameras because the door zone concentrates the highest-value evidence for the incidents that most commonly generate district liability: slip-and-fall on the steps, hand-caught-in-door events, right-side vehicle passing violations, boarding disputes, and identifying which student was present at what time. Most passenger-related incidents involving school buses happen within approximately 10 feet of the vehicle, and the door zone is the specific area where boarding and alighting concentrate that risk. A properly placed 2.1mm super-wide-angle camera can cover all 4 door sub-zones from a single ceiling-header mount above the door, making it one of the highest-value single-camera positions on the bus for evidence purposes.
Is a passenger-door camera required by federal law?
No single federal rule mandates a passenger-door camera on every bus. FMCSA regulations under 49 CFR Part 396 cover vehicle maintenance and inspection requirements broadly but do not specifically require this camera type. Deployment requirements come from three separate sources: state DOT specifications (Florida 2026 school bus specifications and Mississippi 2026 school bus specifications both address camera provisions with varying specificity, and other states have their own frameworks); district procurement standards written into local specifications for new bus orders; and applicable privacy policies governing camera evidence retention, student data protection, and access controls. Verify current state DOT specifications, district procurement requirements, and any local privacy ordinances before finalizing camera deployment decisions. Do not assume federal compliance equals state or district compliance — the requirements are separate frameworks.
What specifications should a bus passenger door camera meet?
Eight spec dimensions matter for door-zone evidence quality. Recommended values: resolution 1920x1080 (2MP HD) to keep faces identifiable at door distance; lens focal length 2.1mm super-wide-angle to cover all 4 sub-zones from single mount; low-light performance with automatic IR activation via light sensor for pre-dawn AM routes; frame rate 30 fps to capture slip and fall motion cleanly; mounting hardware with metal shell and steel adjustment screws for vandal resistance; ingress protection rating IP67 or IP68 for weather and washdown resistance; event storage with event-triggered clips plus 30-day loop retention triggered by door-open, hard-stop, and panic events; and integration capability with MDVR system and fleet operations software via API. Minimum viable values (1280x720 resolution, 2.6mm lens, manual IR, 15 fps, polymer dome, IP54 rating, loop-only 7-day retention, standalone DVR) meet basic ordinance requirements but leave narrower margins for evidence quality when incidents happen. Camera position (ceiling-header above door versus behind driver seat versus ceiling centerline) affects real-world coverage more than the spec sheet alone.
Where should a bus passenger door camera be mounted?
Ceiling header directly above the passenger door, angled slightly forward and slightly downward. This position keeps all 4 door sub-zones in frame: outside approach path visible through the open door, first stair transition unobstructed by doorframe cut-off, grab handle and doorframe area in clear view, and top platform where students face the driver. Three common placement failures to avoid: (1) ceiling-central mounting 6-8 feet back from the door which loses approach steps and first stair below the doorframe cut-off despite easier wire routing; (2) behind-driver-seat mounting aimed forward toward the door which gets periodically blocked by driver shoulder, headrest, or coat during actual door-open events; and (3) direct-sunlight orientation that produces silhouetted unidentifiable students against blown-out backgrounds during east-facing AM routes when the boarding traffic is heaviest. A 20-minute pre-install field-of-view check with a fleet supervisor observing from both the driver seat and the outside approach path prevents every one of these failure modes.
How does BusCMMS work with existing bus camera hardware?
BusCMMS is hardware-agnostic by design. Districts with existing MDVR systems and camera stacks do not need to rip out working hardware to get event-linked video and maintenance workflow integration. Six specific capabilities support door camera workflows: (1) MDVR-agnostic event ingestion via API supporting major MDVR brands including door sensor events, hard-stop events, panic events, and door-camera clips; (2) sensor-to-clip auto-association where every door event automatically links to the camera clip covering the surrounding time window — no manual timestamp reconciliation; (3) shift alert review queue where transportation supervisors see prioritized door events with clip previews for one-click review and classification (defect vs behavior vs false-alarm); (4) event-to-defect-to-work-order chain where any event classified as mechanical defect auto-generates a priority work order for the correct bus with the clip embedded as evidence; (5) controlled camera evidence access with role-based permissions, redaction rules, and retention policies protecting student and passenger privacy; and (6) unified bus asset timeline combining door camera events, DVIR defects, sensor readings, maintenance work orders, and repair evidence into one record per bus — ready for insurance claim, parent inquiry, or FMCSA audit. One 92-bus Southeast district reported reducing event-to-work-order turnaround from 4-5 days to under 3 minutes using the MDVR event bridge on their existing 6-camera systems.